DMX Debugging.. 2

I recently read Wayne Howells excellently detailed “DMX Debugging” article in LSI (July 2017 p86) , and thought I would add my 2p. This is not strictly a project, however is does lay the bed for a new project, STATUS – a tool to test networked lighting systems… but more on that later.

I rarely work with equipment that does not come fully serviced from a hire shop, so much so that thankfully I would say that cable and fixture faults a a rarity. This however has not stopped me scratching my head over some bizarre control problem on a regular basis. If fixtures are suspected, simple bypassing by joining their in/out cables together or using a new cable to exclude whole areas from the search can find problem areas easily. Many problems can be eased with the aid of a simple dmx test tool.

Note simple. I don’t need my iPhone to call the mothership to download a fixture profile, in all of the cases below the tester should be used to verify the correct signal is present, be that existence of good DMX, presence of the correct universe, presence of the correct level of the correct channel where it is expected. (All DMX In modes).

Before you get to DMX IN, I often just check that the fixture responds to me, when I am standing right in front of it connected via a short cable. Don’t I need a fixture profile?, no not really. Selecting 1 thru 512 and wheeling up should bring up the dimmer, move the thing about it and change all the features at once. In this case I don’t want to test the fixture really, just that it is able to respond to DMX, and pass DMX through to all the other fixtures that should now all be doing the same hideous dance. This has proved (coupled with a bit of understanding of your own system) to successfully find air gaps, wrong universes, buffers not outputting anything, faulty cable in the middle of a run of fixtures. So that is DMX Out mode on your tester.

Here are a few faults I have worked in in the last year, as you might work out, at least 50% of these are not the fault of the equipment. None of the unnamed equipment gear mentioned below is from one of the cheaper manufacturers. Lots of the problems could have been solved in a more efficient way by calm accurate communication*.

Case of mistaken identity

A new fixture on an existing DMX line does not respond as it should… the address is correct on the fixture and the patch. Installation was done (by me) several weeks earlier. This universe is not the universe you are looking for.

Fixtures fail to respond at all

Short to chassis earth due to a cable fault.

Faulty fixture has a non passive output

Crazed fixture has gone into some kind of master mode sending crap data all over the place. Identified by bypassing each fixture in turn.

The lighting desk says it is on, but it isn’t.

– Profile is not correct for the mode the fixture is in, fixture actually has two extra mysterious timing channels that mean that the whole rig is now overlapping. Causing fixtures to work in some cues, and then not in others….

Some fixtures respond on a line but others don’t… and they all worked a half an hour ago.

Cable fault near the end of the line. The older fixtures can deal with some nasty reflected goodness, the new ones lock up completely crashing their UI. Did somone mention terminators?

Fixture makes no sense on console, R G B work individually, but as R is added to G for example the fixture snaps to full white. Surely a console/programmer problem? – Address the fixture to 1 and check with a DMX tester to find exactly the same result. New firmware needed as some ‘smart led calibration routine’ is, not so smart.

And all of this is on the copper.

And then we add the artNET, SACN, console to console syncing mysteries….

*easy to type, not easy to do. It should work already, you idiot!

Linear Motion

This is project is for a shop window display – two signs move up and down alternately.  Using some linear slider kits from ooznest I made a few aluminium pieces to allow them to push up and down some 6mm OD rod.  A teensy micro and some stepper drivers in a box does the control, with a limit switch at the motor end. A calibration routine on startup lets controller work out where the carriage  is and then back off the limit switch like the CNC router does.

Its a bit loud, I’m going to add some of those rubber anti vibration bushings to mount it on.


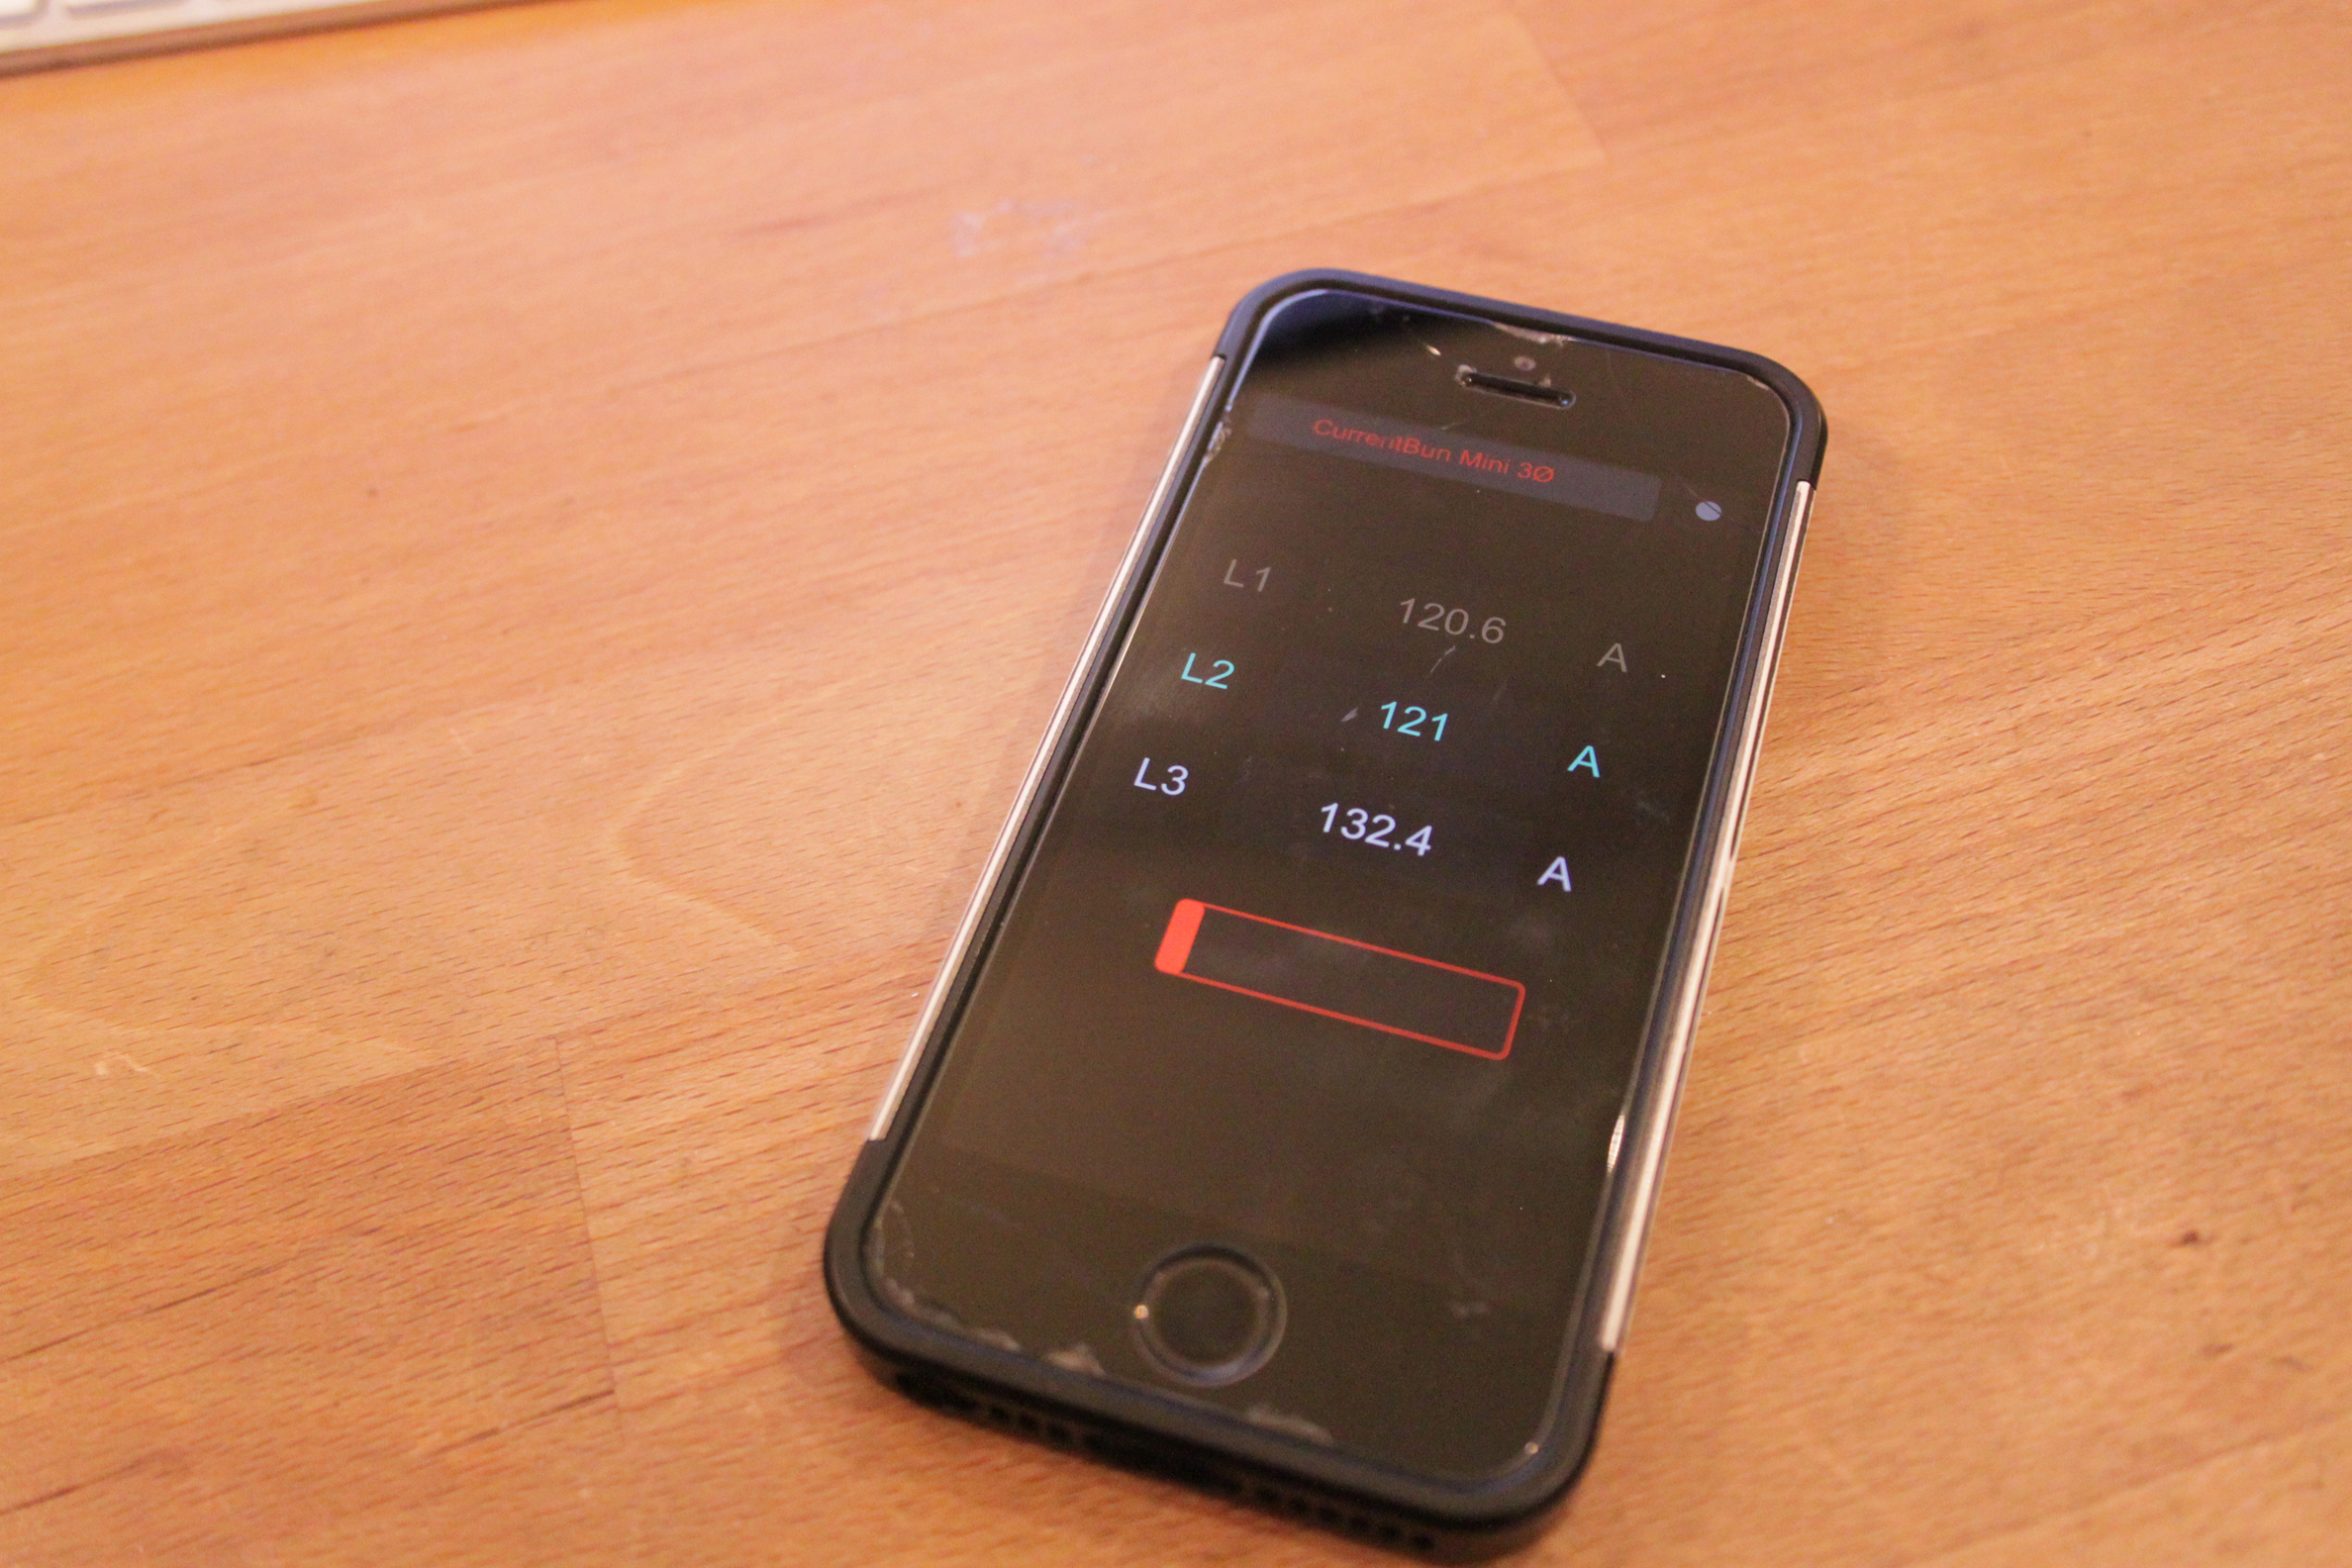
CurrentBun returns… OSC

I have been working on a couple of shows lately where the rig vs the power supply capability have come a bit too close for comfort. It reminded me to dig up and old project and give it a new lease of life.

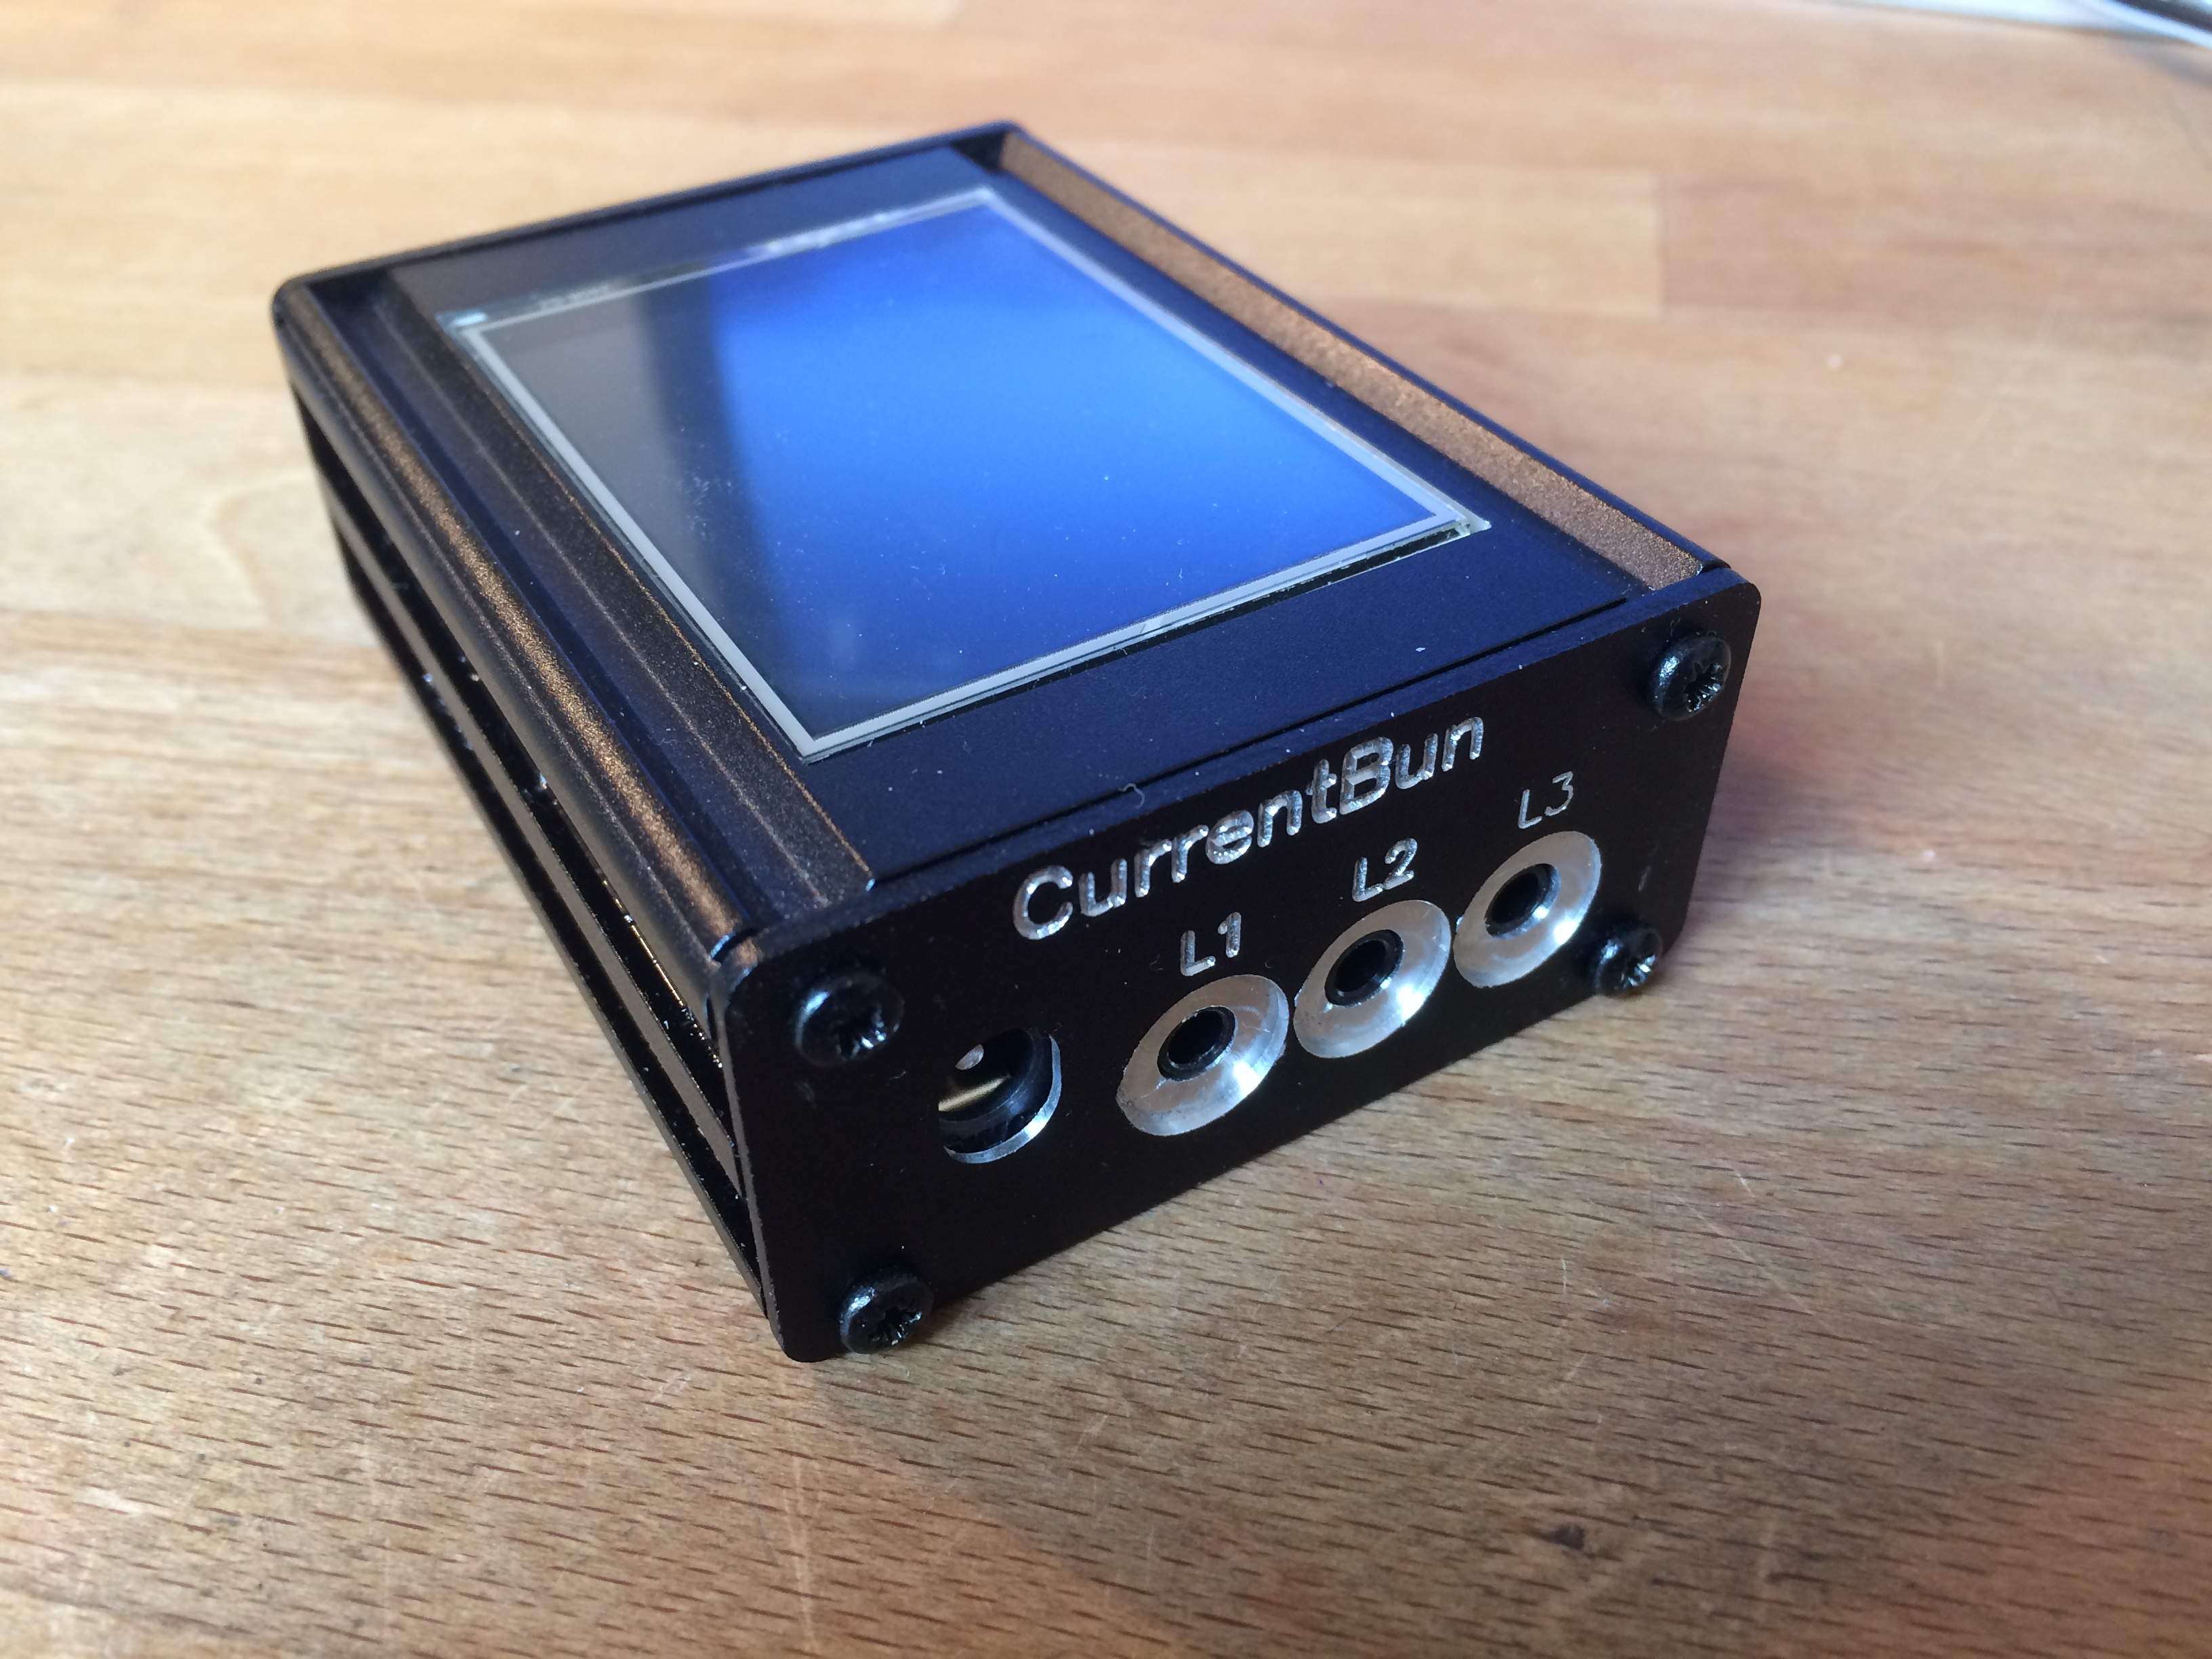
I have developed this; the CurrentBun Mini OSC. It is the same size as my STATE DMX testers.

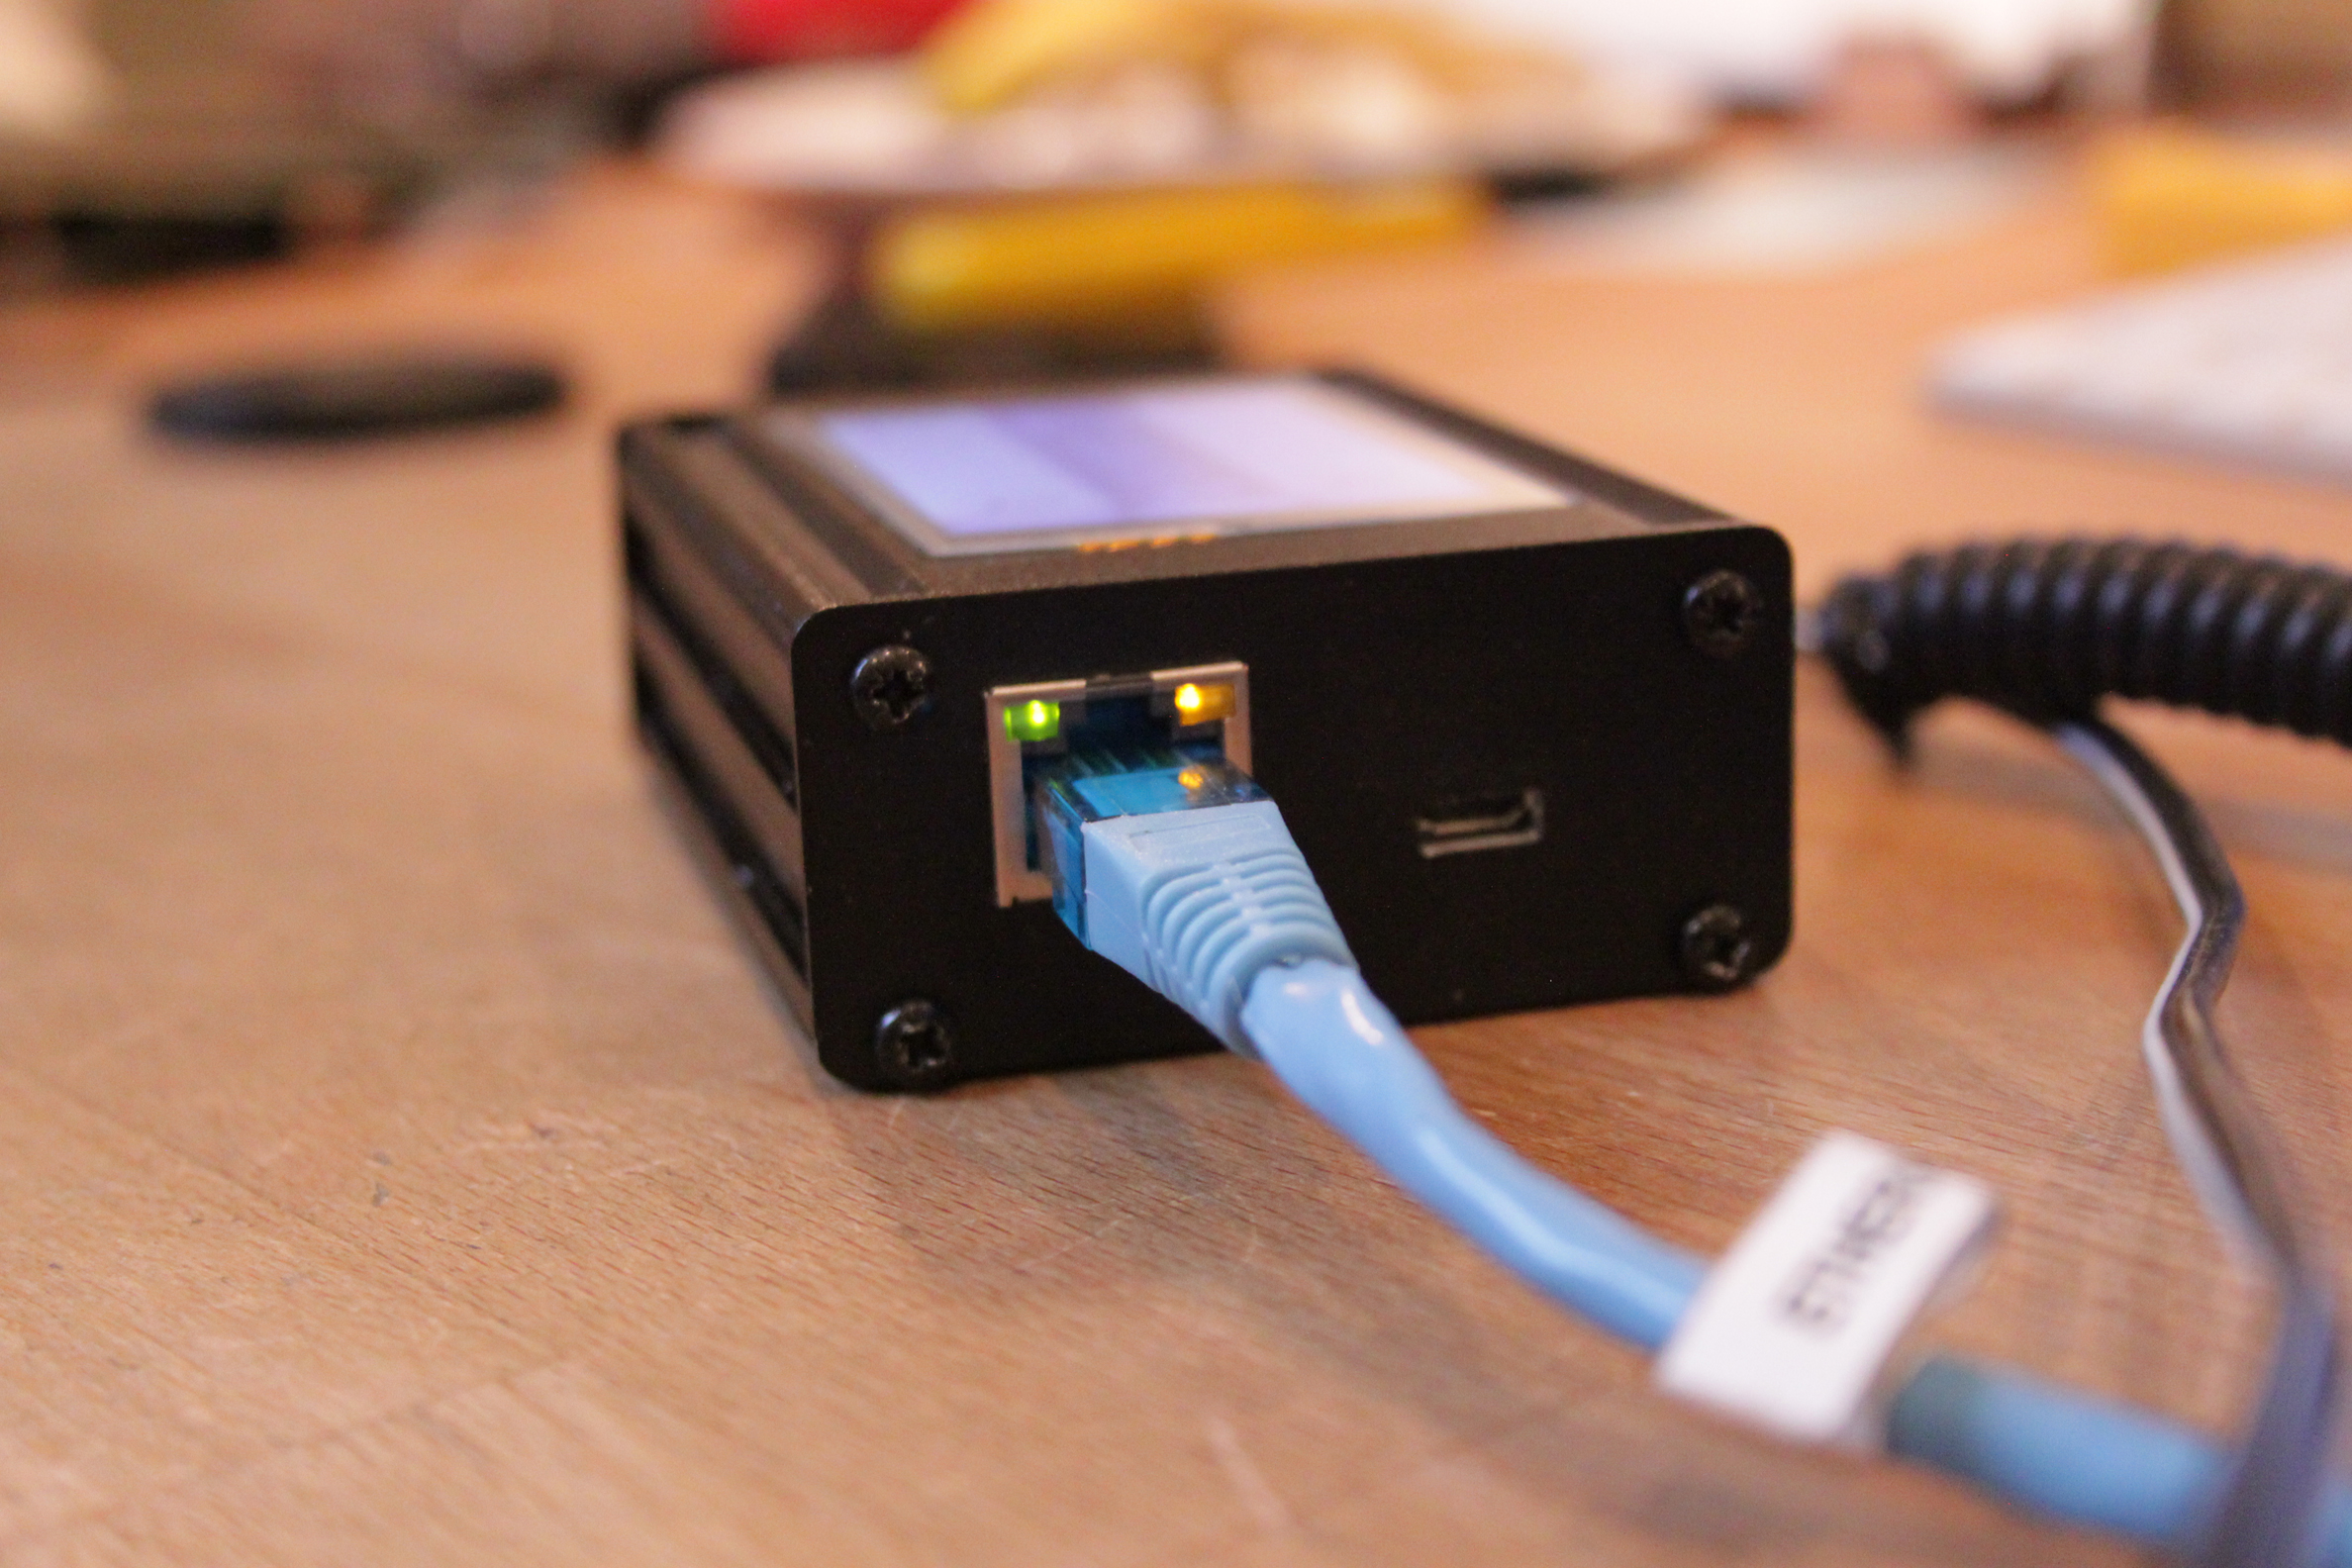
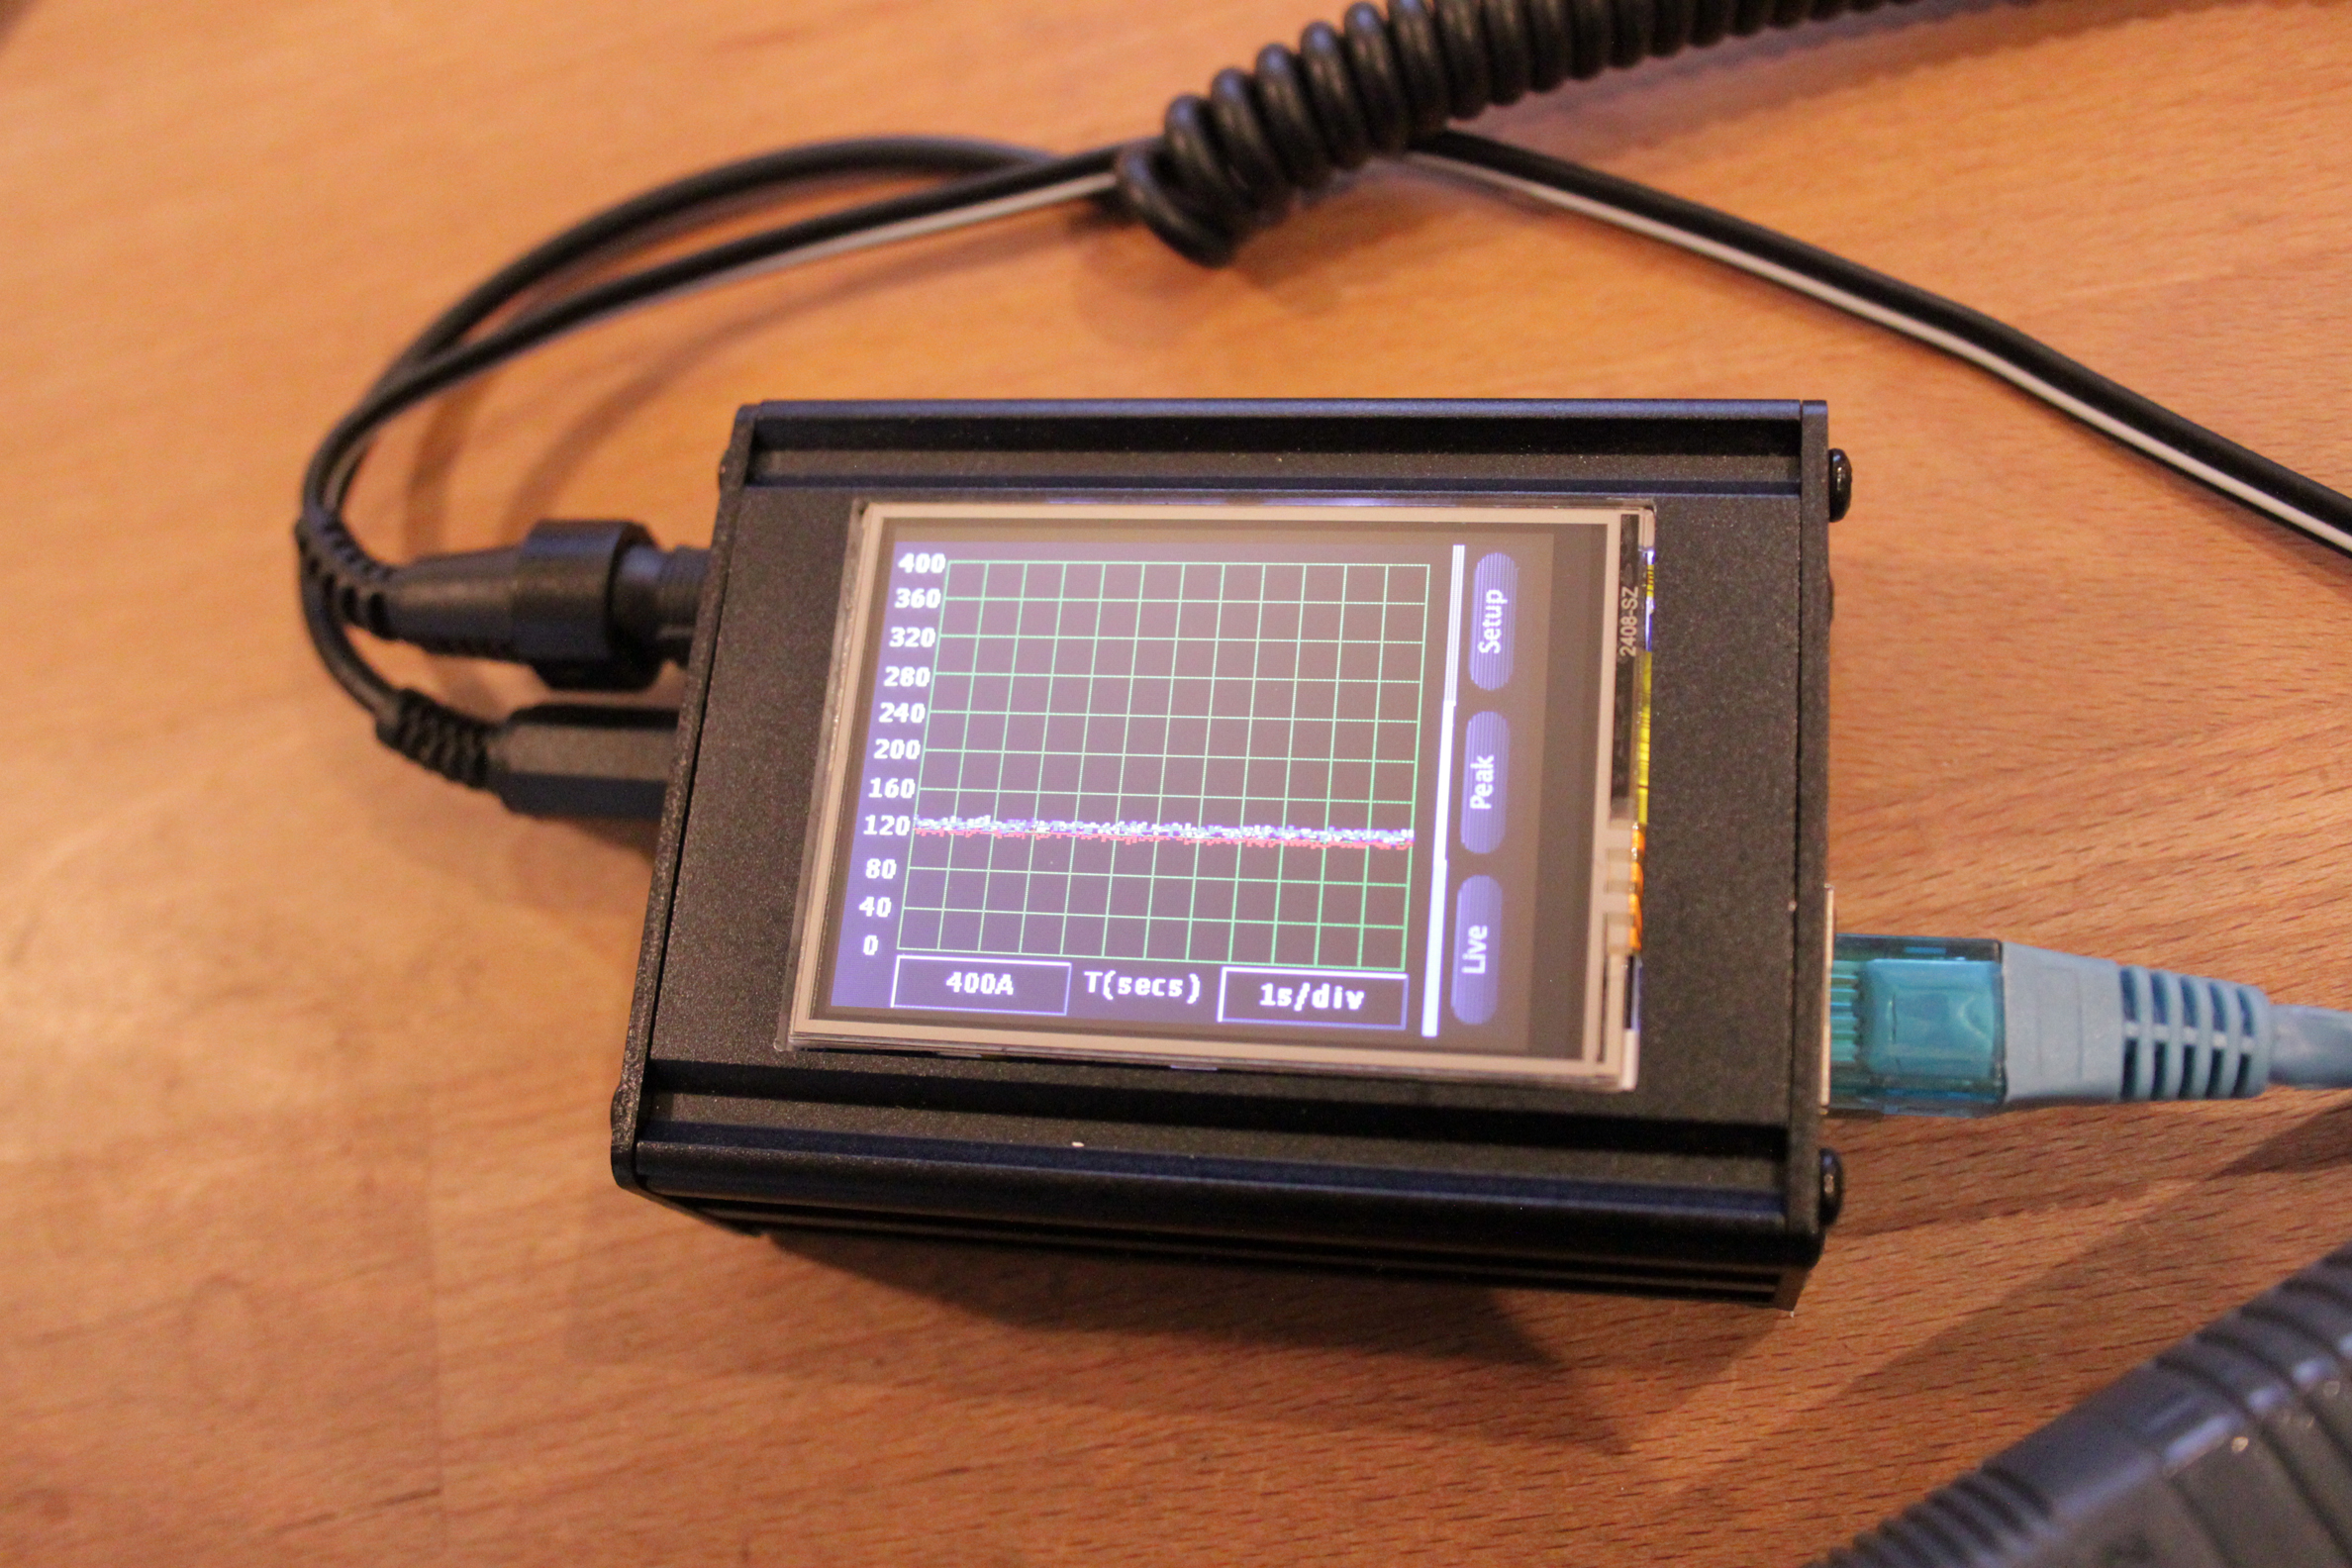
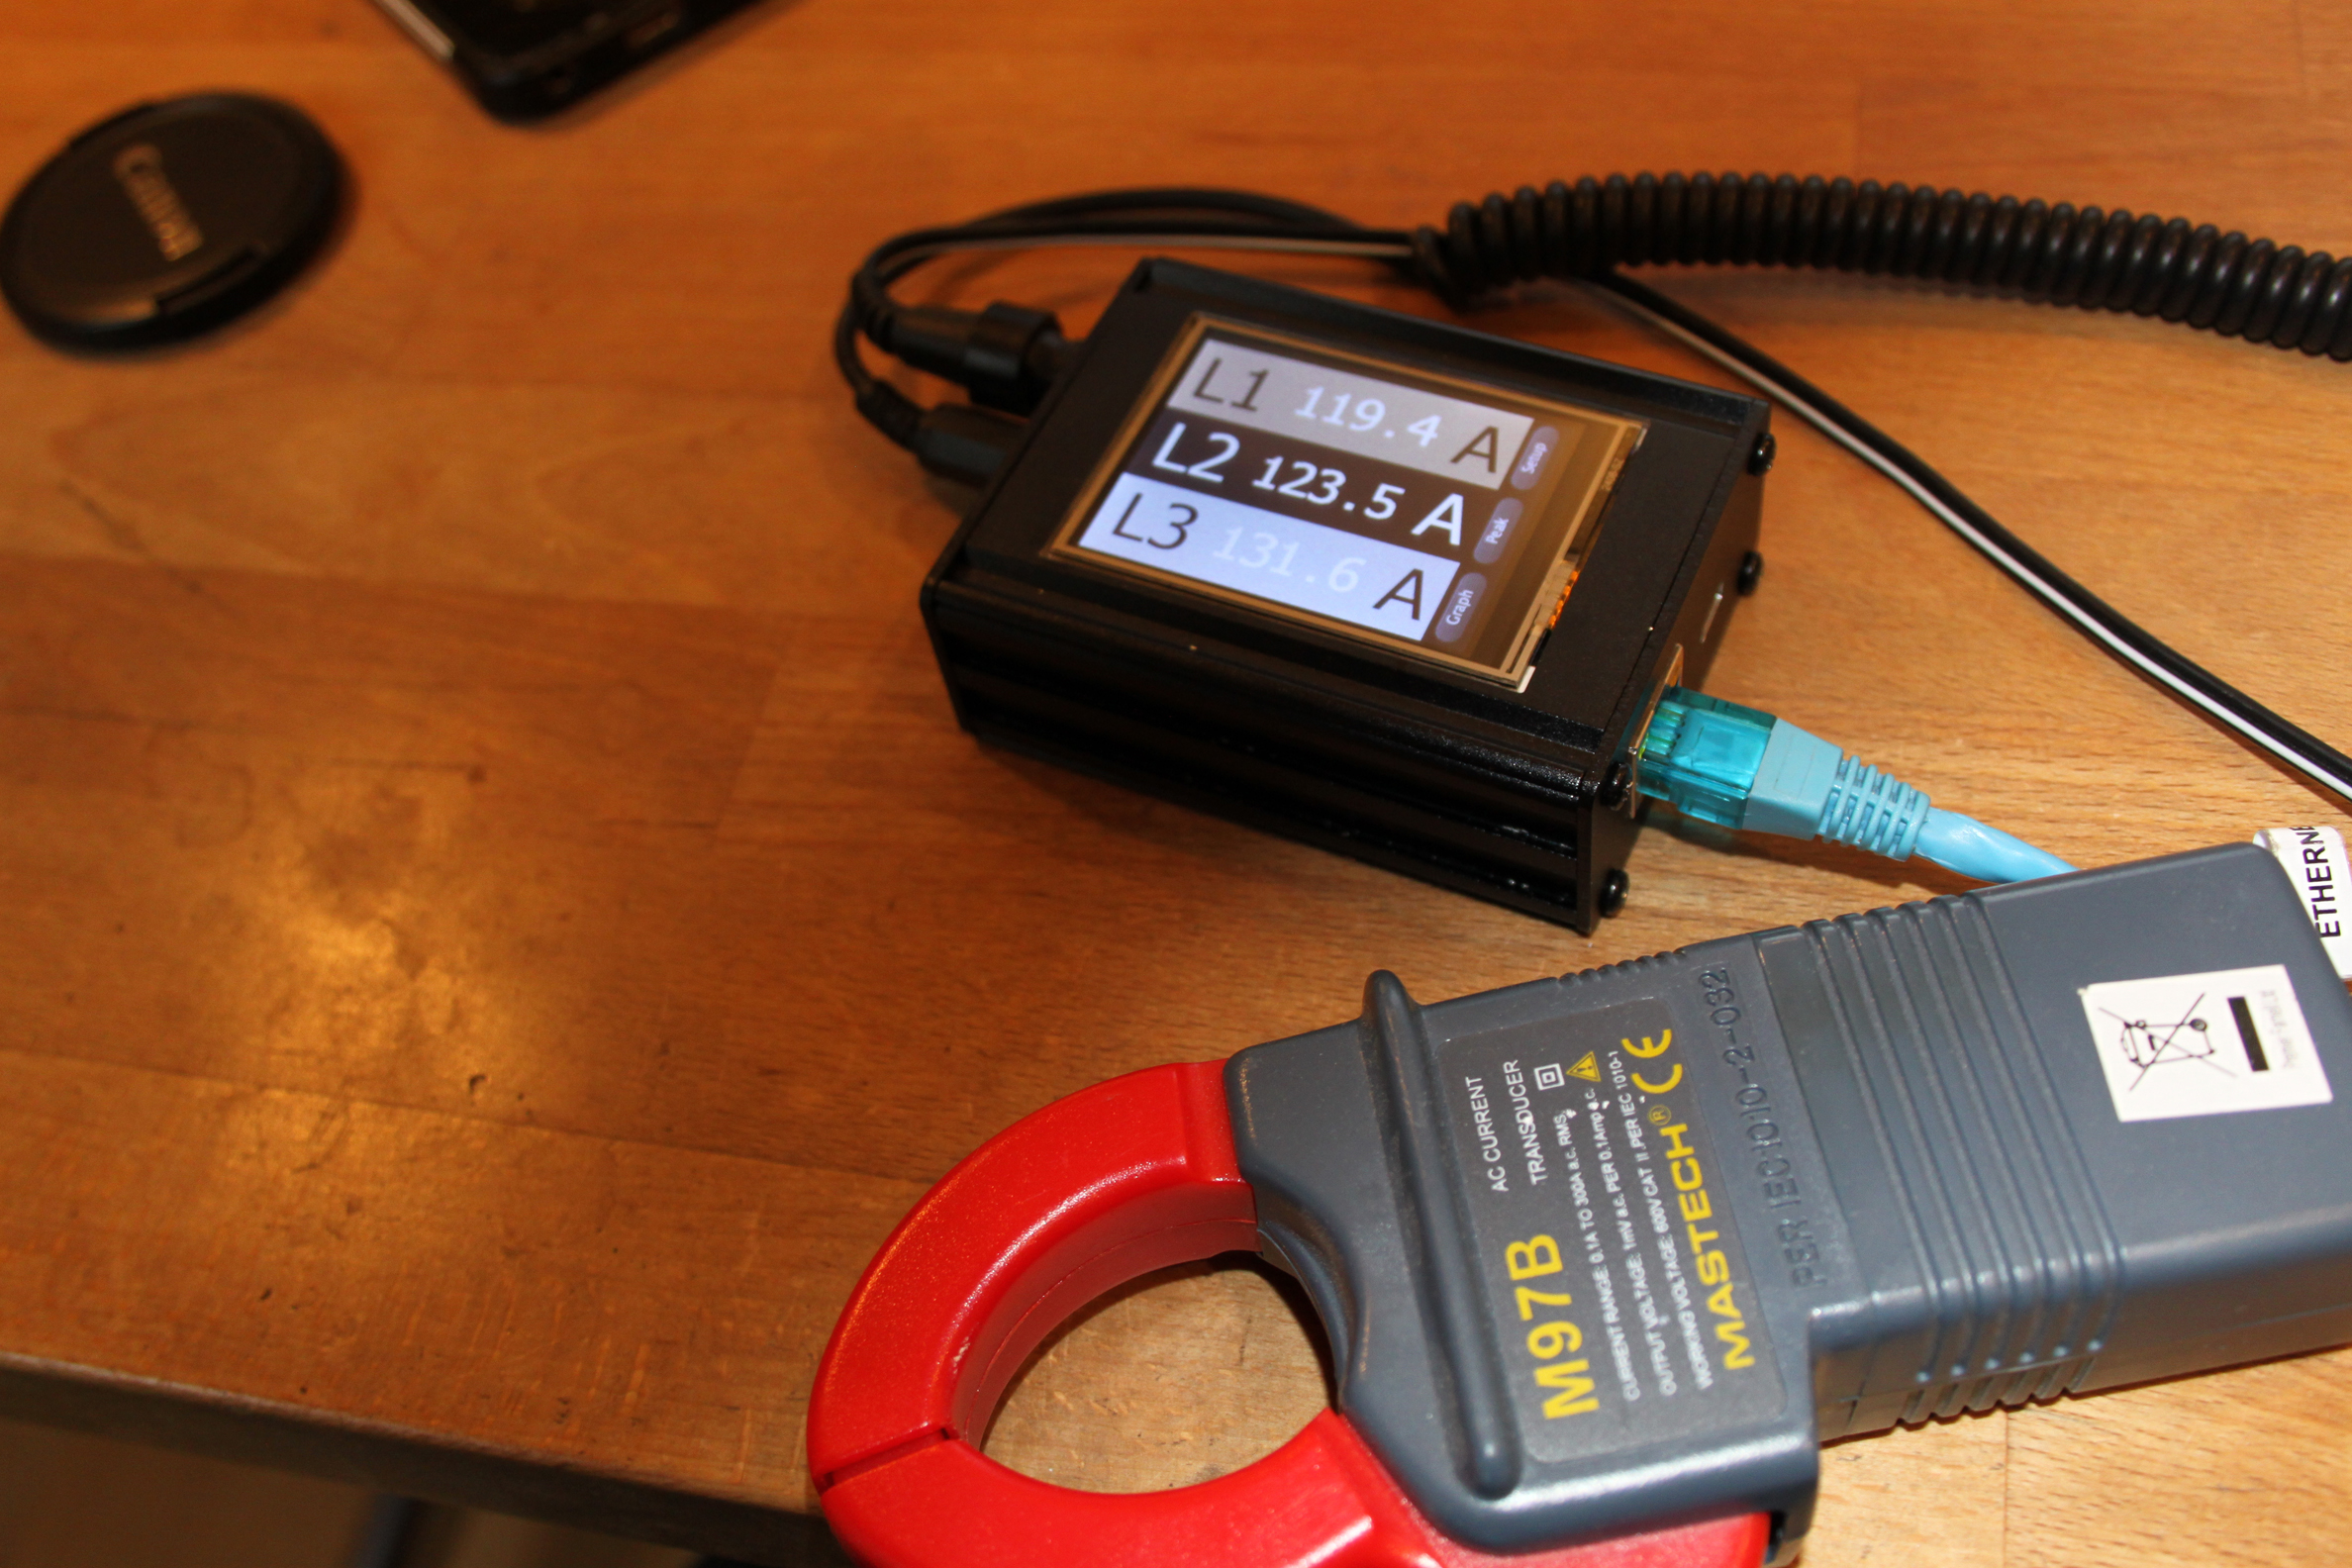
The unit has inputs for three current clamps and an ethernet connection / USB for software and calibration. There is a 2.5 inch touch screen that shows basic read outs of the three phase currents, peaks and a graph mode that shows current over time.

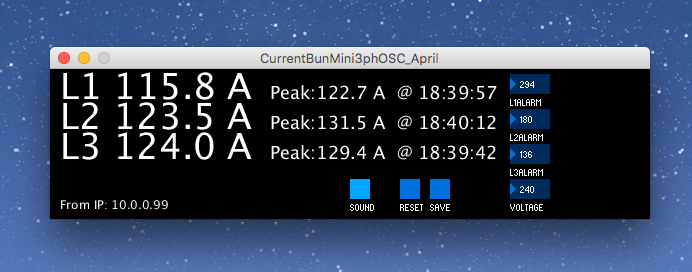
The idea is that you stick this by the rack you want to monitor, connect it to your lighting network and then display/configure the unit remotely via an app on your PC/MAC/Phone. The data is sent over the network via OSC, so it can be received easily.  I have made a simple application that displays a readout remotely and lets you set an alarm for each phase if it were to go over a top set.  The physical unit can also chirp if required.

Case is still a bit of a prototype, but let me know if you have any ideas for the project.


LightWrite Pipe / Bar / Truss Printer

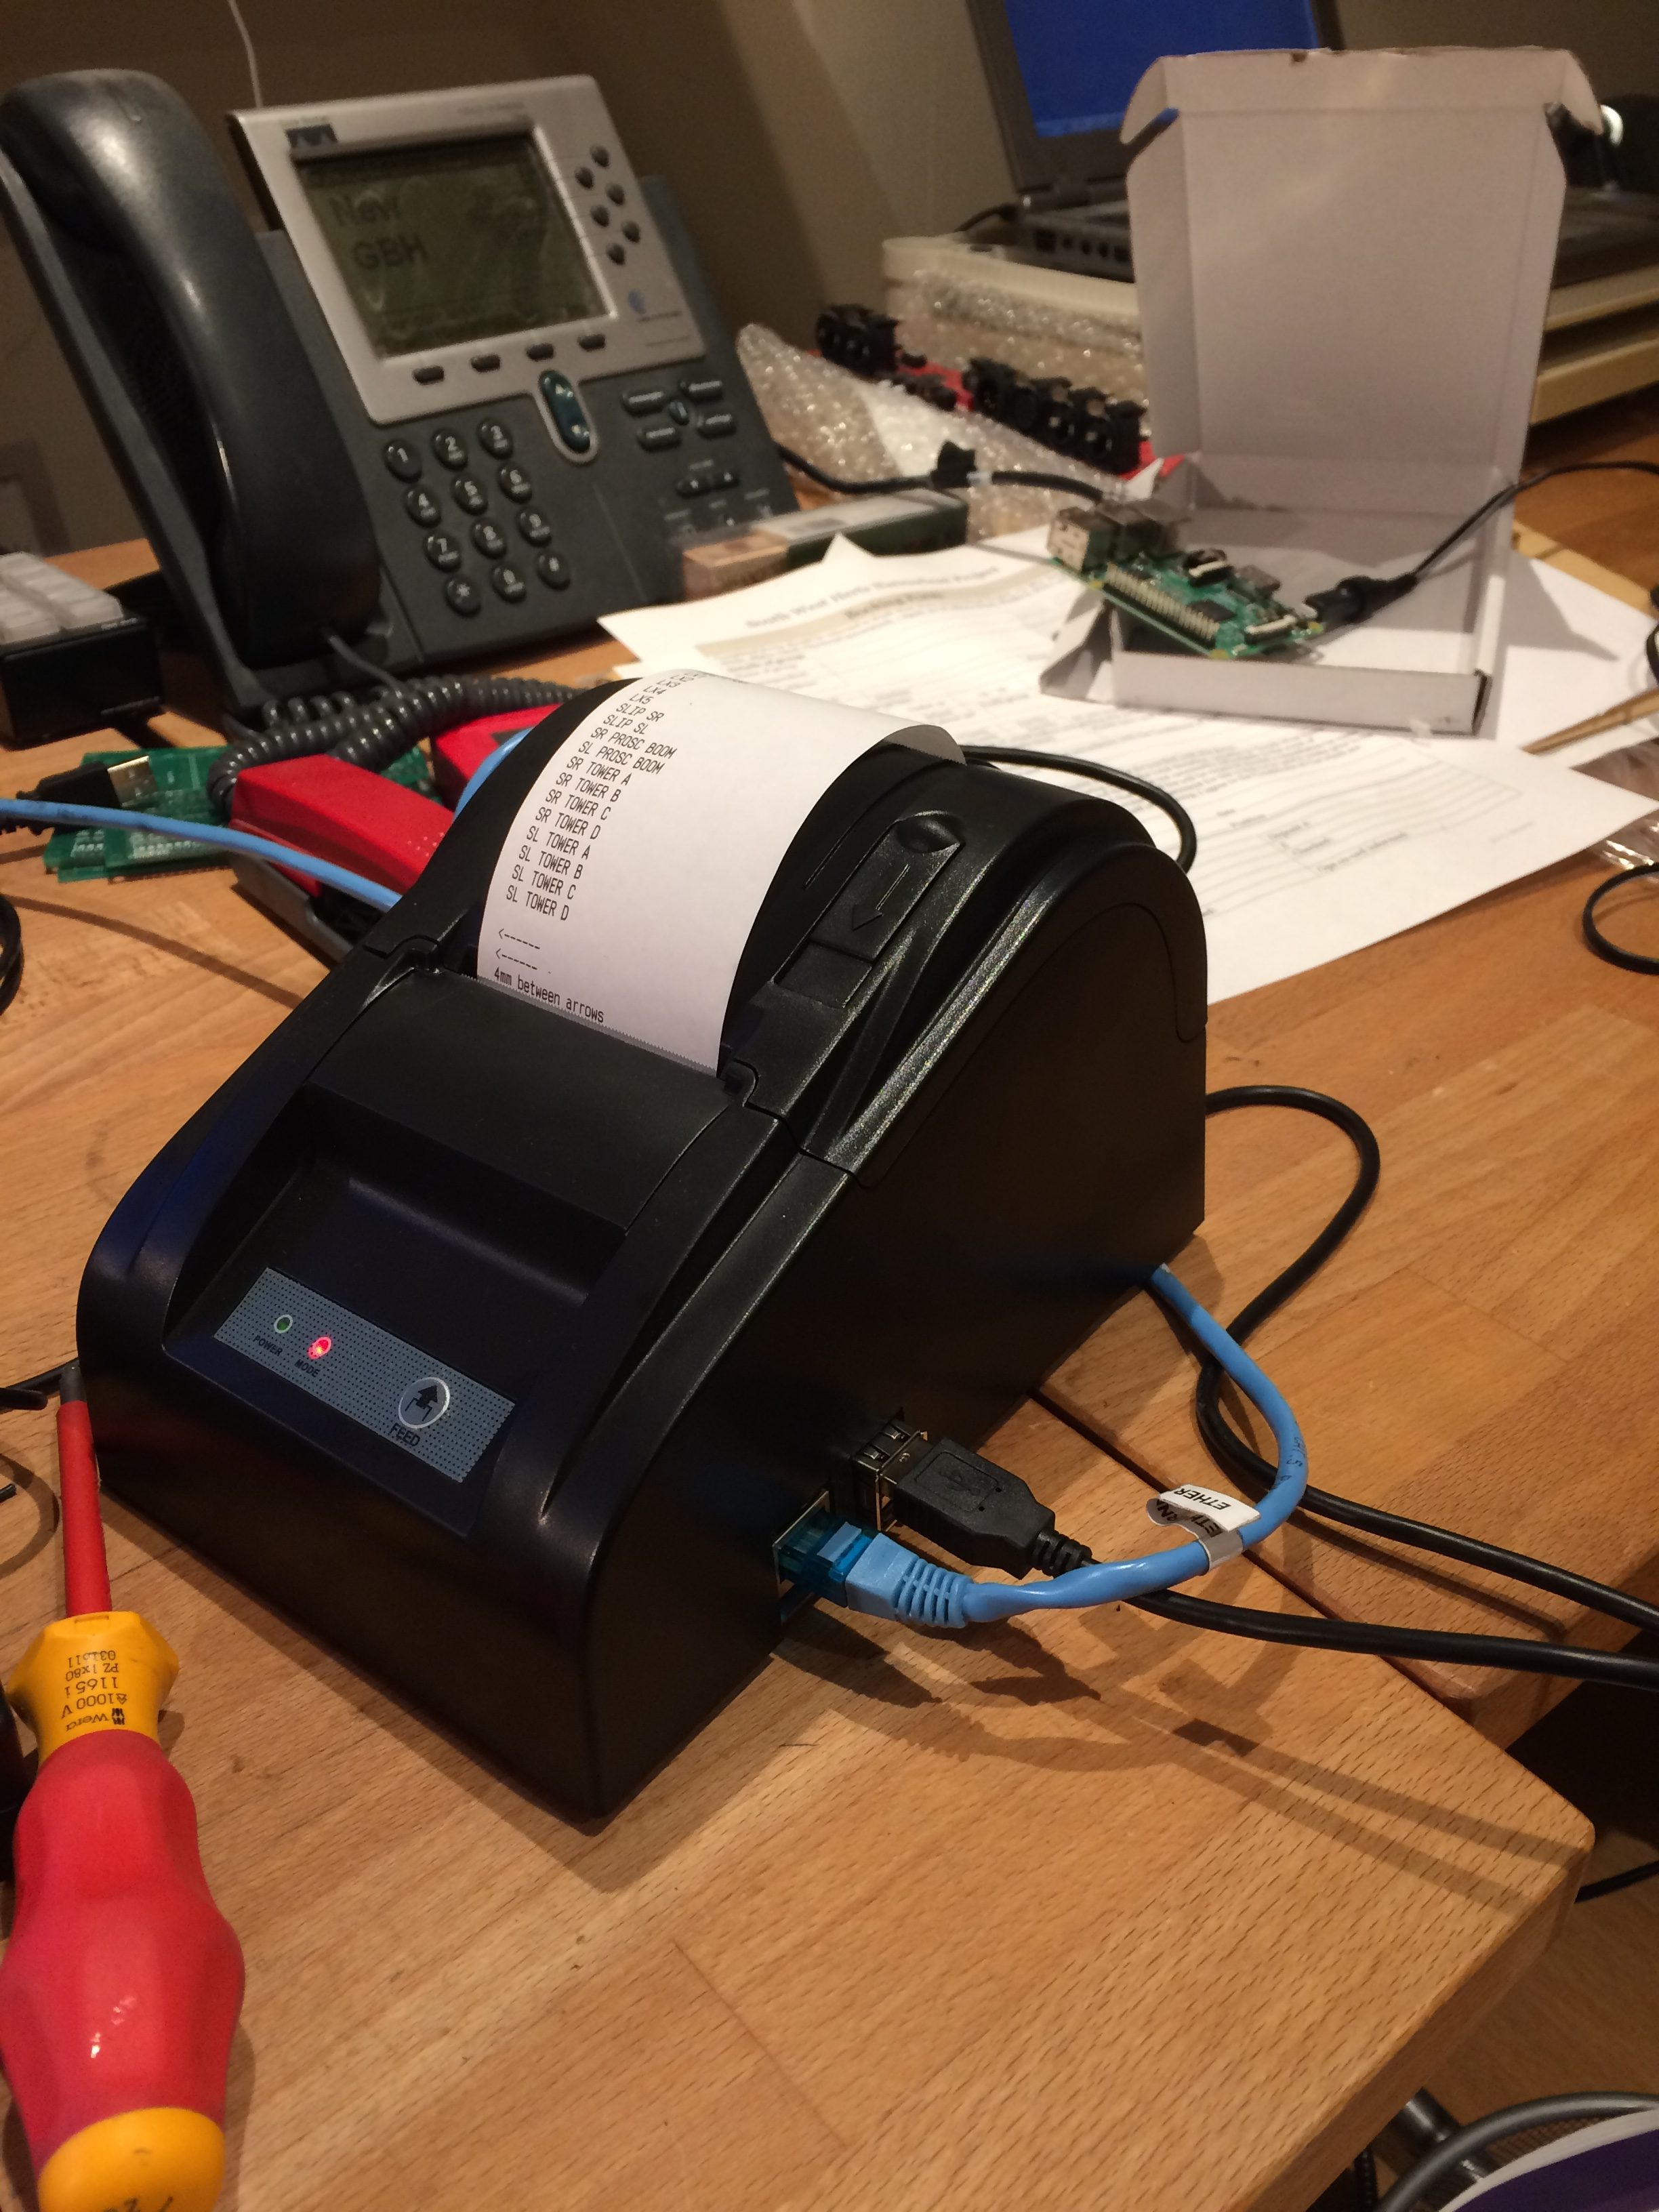
Just spent some time I should have been doing something else messing about with a Thermal receipt printer.  It has been hanging around the workshop for a long time since its previous life in a robot costume….

It came to me in the middle of the night that one of the morning boring prep jobs it to mark out trusses with units, or mark  a temp prep truss up so that a bar loom can be made. Using a cloth measuring tape, and white gaff to mark the units.  The info is already in LightWrite, so why not print it out.

I wrote a little app in Processing that takes a feed from LightWrite with these fields

Unit# Channel Distance From C Position Dimmer Instrument Type & Accessory & Wattage DMX Mode User 18 Colour Gobo Circuit Name Circuit#

It then just presents you with a list of positions to print. The printer can be calibrated with a little calibration routine so that distances are accurate.

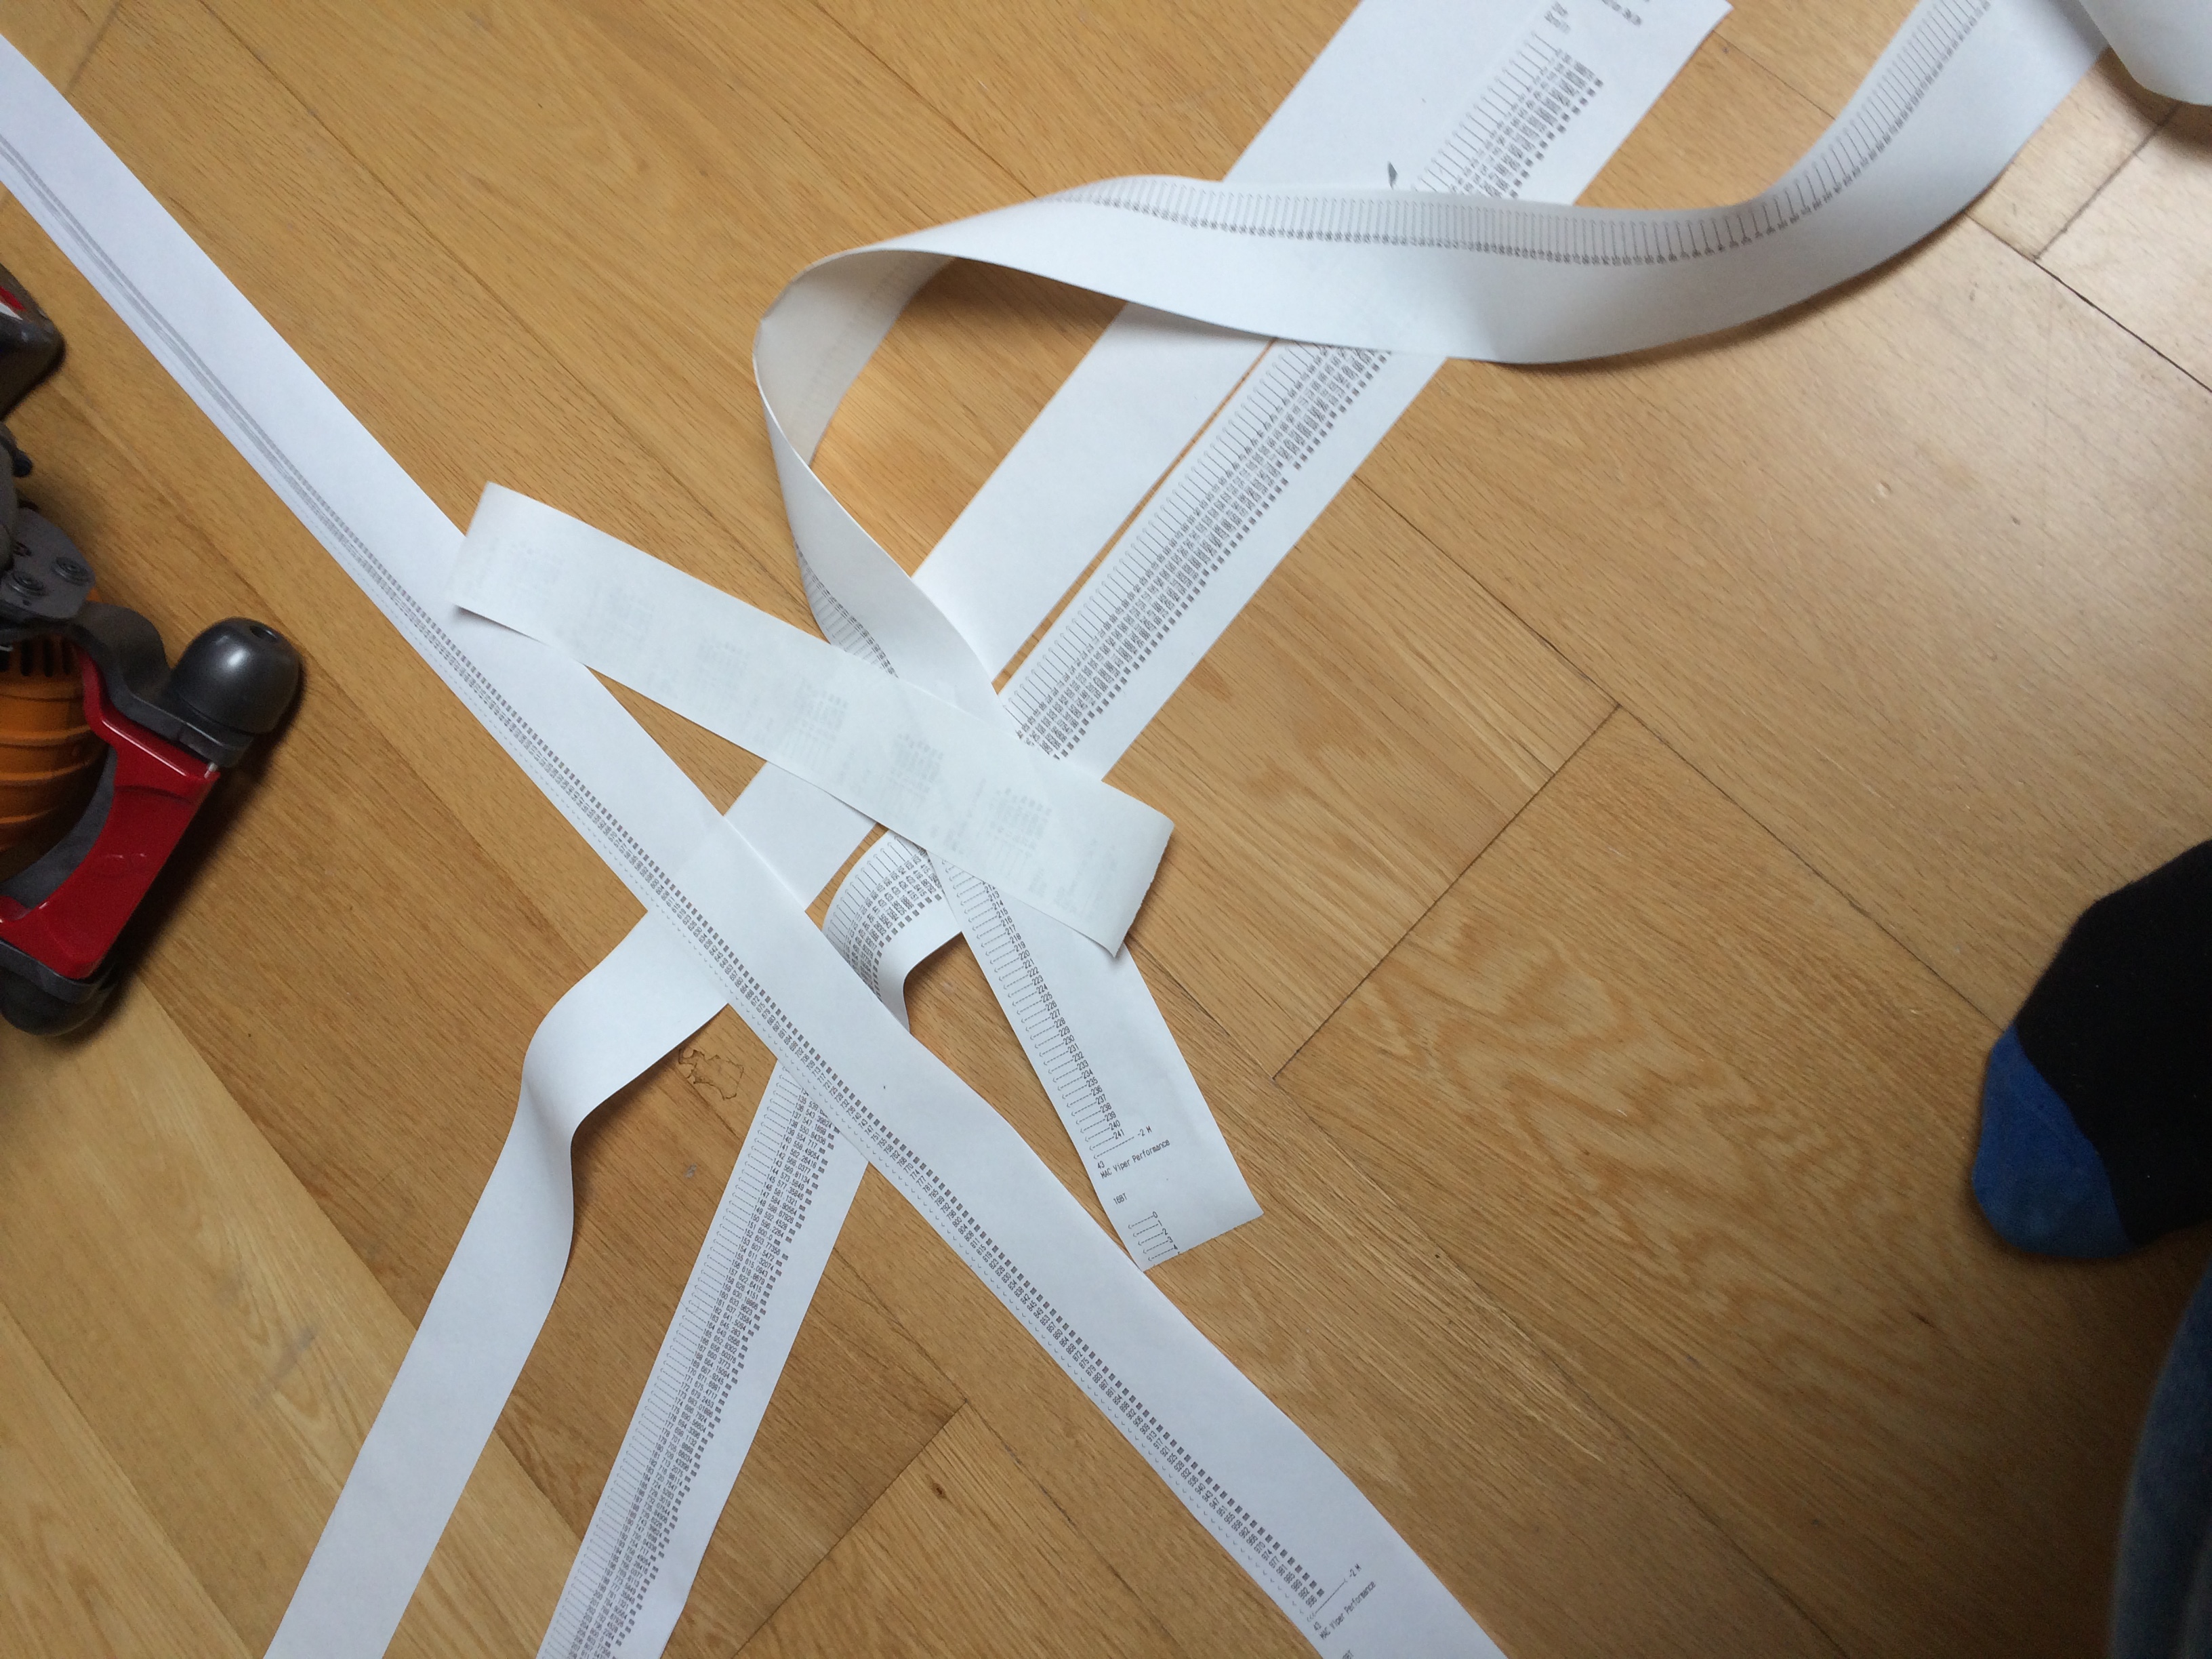
Cue tonnes of paper on  the floor testing different methods.

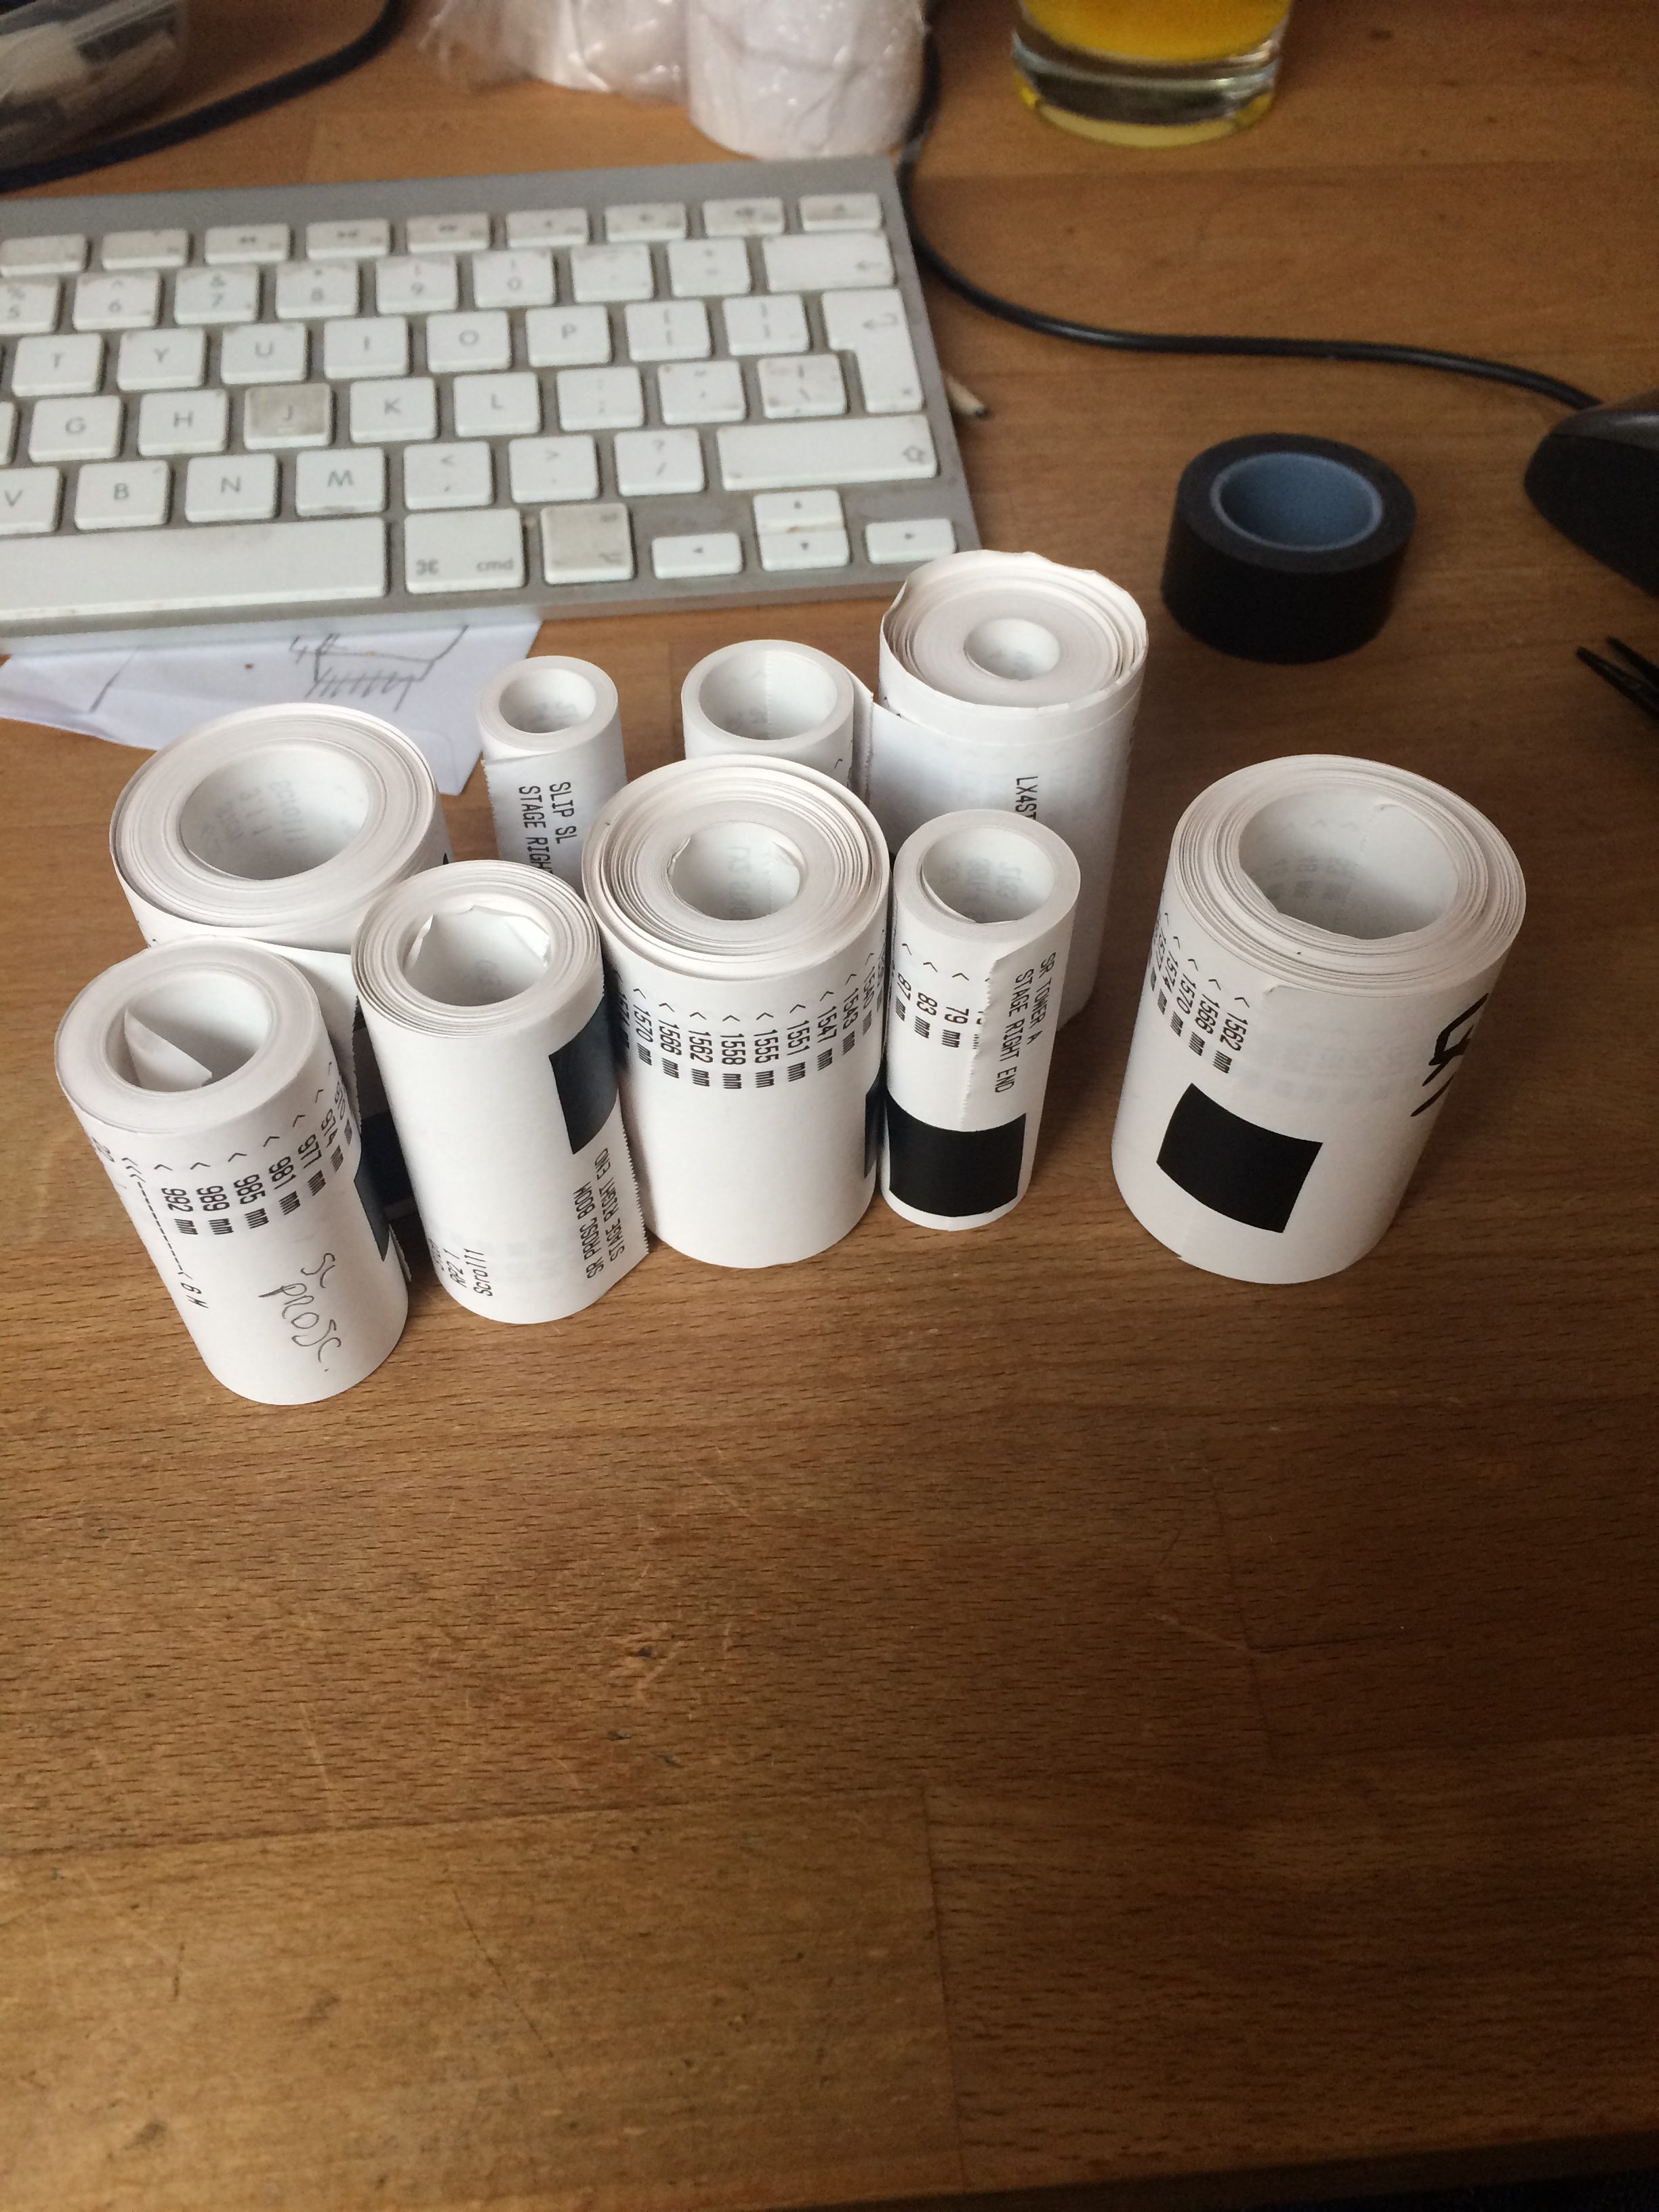
Out spits a long old receipt with the units centre marks marked, with all the other info so you can make a loom, plug it up, colour it etc.

After a few goes I realised I would need a printer that could take bigger rolls.  I bought one on Amazon for £29.99 inc postage, and it can take 40m rolls. The rolls cost about £2 or less.  Not the greatest for the environment, but it beats all that wasted tape and scratching of heads.

Sadly the printer driver didn’t work with my Mac so I had to bodge a RasberryPi inside it.  Work in progress!

Just printed out my first show.


DMXswitch

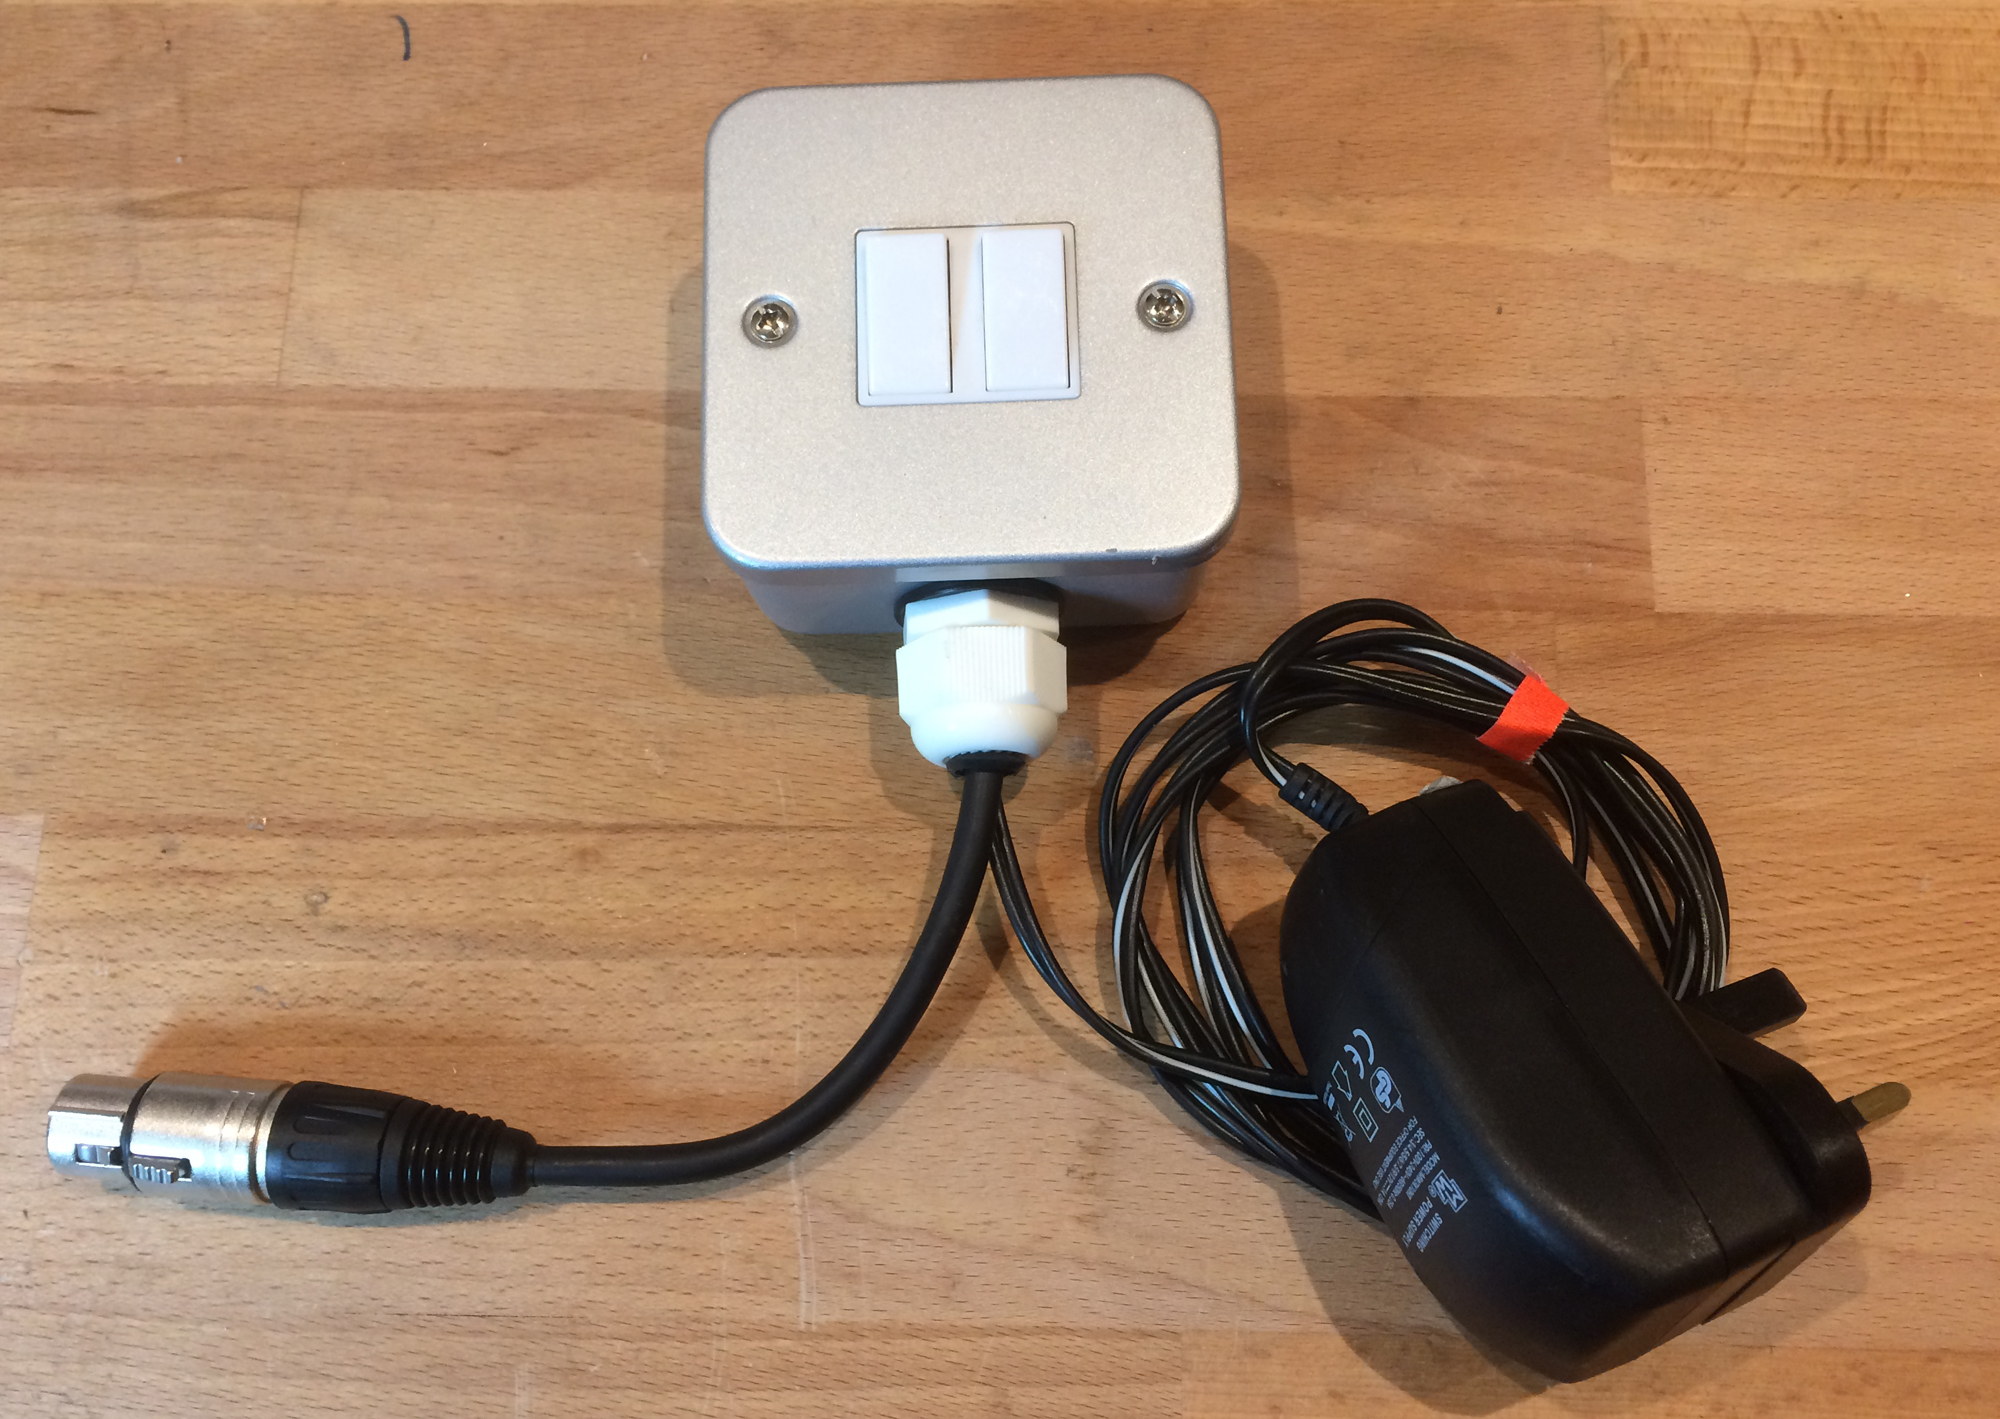
For when you just need to turn a light on.  Or more specifically the working lights in a temporary gig. Only its not you turning them on and off at the racks, it is the cleaners or the box office people etc etc. This lightswitch outputs a full universe of DMX that can be merged in, or just connected to a relay rack to turn some MBIs on and off. Thats how I am going to use it. It has a little (variable) delay for the turn on so to minimise inrush.

And to the next task >  maintained houselights in a temporary event space. How do you have dimmable houselights that are also fed from a batterybacked supply in a temporary theatre as required by some LAs.

And the next task, site powered from a not 24/7 generator. For several months. How do you keep your emergency lights charged and ready to turn on during generator fail, but not discharging them everynight when the generator is off. With off the hire-shelf  1 inlet unmodifiable twinheads.

Teensy DMX board

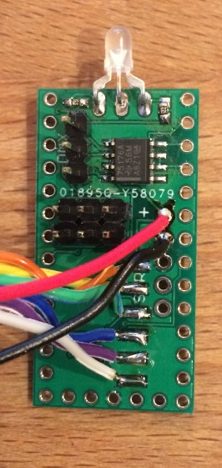
img_4005After a quick search around I couldn’t find anything that easily added a RS485 transceiver to the Teensy platform to allow it to send or receive DMX easily. I made this little PCB to do the job. It mounts on the bottom of the main board, allowing an ethernet board to be added to the top. In the picture there are a bunch of other wires soldered on to break out various IO lines for switches, UART and SPI for a display.

Because of the power of the Teensy 3.2 it is great to say make a simple ArtNet node, process DMX for addressable pixels or pixel tape, and any number of projects that need a little bit more processing. AND it is teensy tiny.

E2C – ArtNet to E2 / Leitch

This is a protocol convertor I am developing to take ArtNet or DMX and convert it into Telnet commands to control a Barco E2. I have also added RS422 output so that a Leitch compatible router/matrix can be controlled also. I will be using it with a Black Magic 40×40 SDI Videohub. The basic idea is that the lighting desk and control presets and transitions on the E2 and make routes to video sources and destinations. This means some better integration can be made between systems that are already controlling media servers etc from a lighting system.

The box has a main and a backup system in it – or 2 separated systems that could be used independently. The is no power supply redundancy but that could be included simply.

Bluetooth & Audio

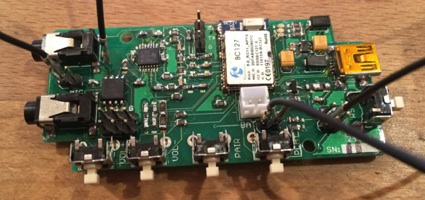
I have been working on device based on the BC127 bluetooth module. The idea is to and from stream audio over bluetooth to this receiver. The user wears this pack a bit like an IEM… in fact the idea is to use it with IEM style earphones. The transmitter connects to a unit that combines coms traffic from hardwired coms loop and radio, and has an input for a program mix. The transmitter is proving more difficult. The beltpack works for the moment… It is has a lithium poly battery, USB to charge it, a couple of buttons to engage microphone on radio or hardwire, and global volume. The mix between channels is made at the as yet unstarted base station.

New Workshop!

Over the Autumn I have been moving into a new workshop with more space, CNC and electronics facilities, this will speed up delivery of DMX testers and creation of new prototypes. There might even be space for a lightbox or too.

Chandelier…

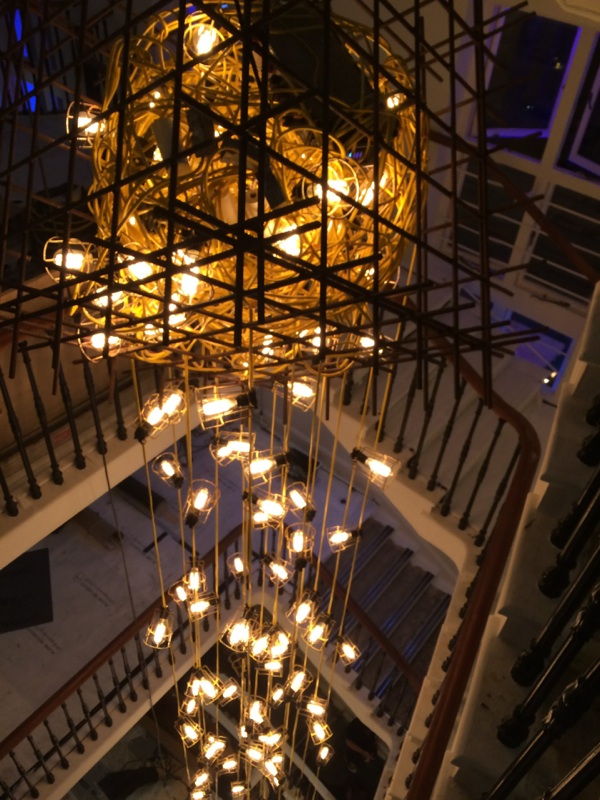
img_3538This Chandelier was created by designers Rob Howell and Hugh Vanstone for a refresh of the Foyer lighting in the Old Vic Theatre in London. It is made up of twenty strands of yellow construction site festoon tangled and dripping from a meter square rebar cage suspended ten meters above the foyer.
PLP Pracs provided the control, fittings and installation of the 220 LED Squirrel cage lamps in custom festoon harnesses.

Control allows the chandelier to gently pulse, be static at various intensities or be programmed to suit the current performance. It provides a warm glow for the audience to rise up to each level of the auditorium by.

Pulse to DMX

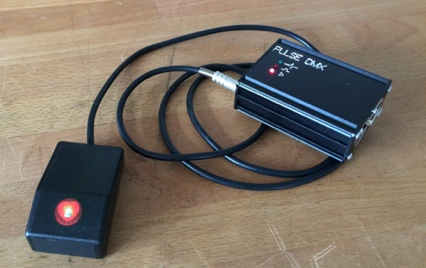
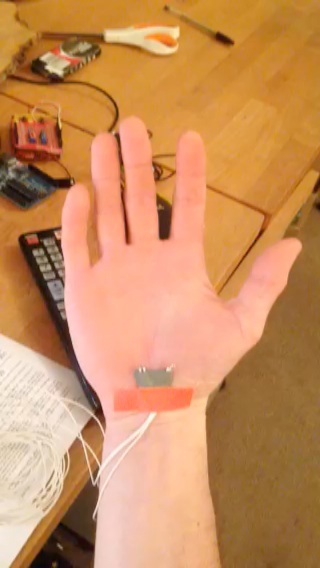
I was approached by WhiteLight Ltd to create a device that allowed guests to interact with a light installation in an unusual way – via their pulse. The brief was something that would allow each person to control a 280m long installation of RGBW uplighters in a tunnel using their heart rate. I made this Pulse to DMX sensor using a ‘Pulse Sensor Amped’ from Pimoroni, it outputs an analog voltage when a finger is placed over the pad. I chose this because electrically isolated from the user, so I didn’t have to worry too much about other forms of electrical isolation from the rest of the system that the ECG type of sensors need. The sensor is connected to a unit that analyses the waveform, and converts into 5 DMX channels, BPM, Pulse trigger, Pulse present (or enable), raw data, and a variable frequency sine wave.

The installation was actually controlled by a GrandMA console, and the Pulse DMX sensor was used as an input to trigger a one-shot effect, and a contact closure for sound, to trigger a heart beat type sound.

Miniature Strobe / Flashing Hands

For The Ruling Class at the Trafalgar Studios I made some “Electric Hands” using some tiny Lumileds and a modified version of my wireless dimmer project. The result is a really bright and tiny strobe. The video shows one of the prototype units. The final version were mounted to two elasticated wrist straps and was used in part of a programmed sequence.

Ultra Bright LEDs …..Wireless AND Battery AND small

I’m looking for a product that does wireless dimming AND has an on board battery. If my phone has a huge LiPo battery in it ( with a ability to charge easily), has wireless communication, can drive a ultra bright LED and can fit in my pocket… then why can’t my wireless dimmer.

I have been experimenting with Phillips Lumileds Luxeon – LXCL Series for a project. These are designed to fit into your smartphone to provide a torch and/or a flash for the camera. They are mega small (2.04×1.64mm) and can handle a huge forward current in short bursts. This makes them massively bright. The design challenge here is drive the things at the right current and voltage (using a handy IC) and to make it all fit in a small bodypack so it can be worn.

LED3module

This project is partly an upgrade to my wireless dimmer stuff, to allow a greater current capacity. I have recently needed to do simple logic things with LEDs, like pressing a button to turn a LED on, and then have DMX override etc. This board has DMX capacity, two local pots for control of any parameter, like intensity and rate of a flicker for example and 5 contact inputs. The idea was to make something flexible that I can repurpose for anything that comes up without having to bodge one of my original radio boards which I currently do every time I need something a bit odd.

Switch 6… update

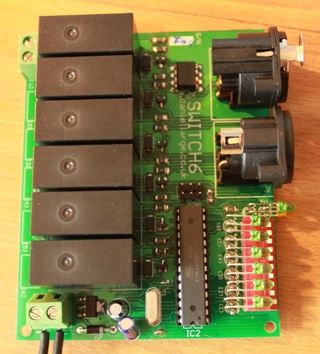
I have been working on finishing the Switch6 project. It is 6 channel relay board, with DMX input. The board in the photo does not have the tab top relays there will be in the final version. this will allow 16A switching per channel.

The software is now finished, its really simple. Dip switches to set the DMX address, with one switch to set the switch on level, either 5% or 50% (DMX 127)

I wanted to make something like this, to perhaps use with a socca outlet to hang out the back of an AVO rack or similar.

ArtTubes v09- upgraded to 16 Universes

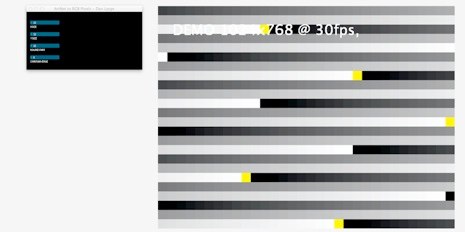
ArtNet Tubes v08 makes an appearance at Electric Daisy Carnival festival, upgraded to control 16 universes DMX mapped to MiTRIX LED Display on portals on the stage. This software takes an ArtNet input and maps each group of 3 channels to a pixel on video output. The size of the pixel area controlled by each group of RGB channels can be adjusted to give some mapping flexibility. It ran on a pair of fairly standard Macbook Pros, one as a redundant backup.

Fire?

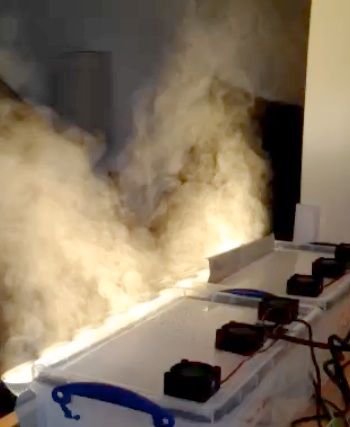
The prototype of a flame effect fire with water mist for Marcushall Props – now on stage in the Noel Coward Theatre as part of Shakespeare in Love.

Update:

Now with 4 single channel programmable dimmer module to make a fading/flicker effect. I designed these modules for a friend who wanted single channel dimmer control via serial. In this case I just programmed each one to do a random chase.

How the STATE DMX testers are made.

I have been asked by a few people how it works, so here it is. It is quite an involved process although the machines do the hard graft. It is of course possible to get someone else to assemble the circuit boards and make the enclosures, but that is neither fun, nor cost effective at this stage.

Design

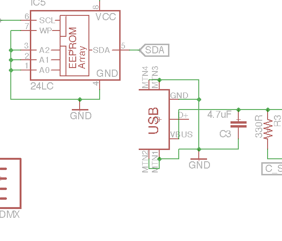
I designed the PCB using CadSoft EAGLE, I send the files away to be turned into a board.

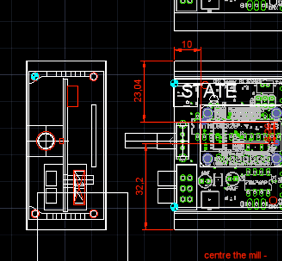
The enclosure is designed in CAD, and then I use Lazycam & Mach3 to convert the drawings into GCODE ( a set of really simple machine instructions that tell the cutting and engraving tools where to go and what to do).

The software on the unit is written in C++, and that is probably the subject of another post.  I get ideas from time to time about how the interface could be developed or made easier to use from the people around me at work.

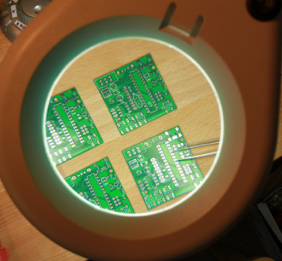
The PCBs arrive and are populated with components. I do this by hand, due to the low volume. Some of the components are are very small  (<1mm ) so some concentration and a magnifying glass is needed. I use solder paste and a small tipped soldering iron and work on a number of boards at once, placing each part across the whole batch.

First stage of testing is completed at this to check voltages and battery charging operation are OK.

The encoder side panels go into the CNC machine to be cut. I do these first so that the assembled PCBs can be then attached to them while other things are happening, like adding the red switch caps and the OLED screen.

The XLR backplane is soldered up, this has a little bit of ribbon cable that needs a crimp header crimping onto it that connects it to the main board

The XLR end panels go in for CNC milling. I usually do these in batches as it is quicker to set the machine up once and then just keep feeding it material.

Each panel takes about 5 mins to cut.  The XLRs are then screwed into the panel.

The polycarbonate windows are milled in the same machine. Due to the thickness of the material they are done one at a time, any more the warping caused by the clamps mean that the final size of window is not accurate enough.

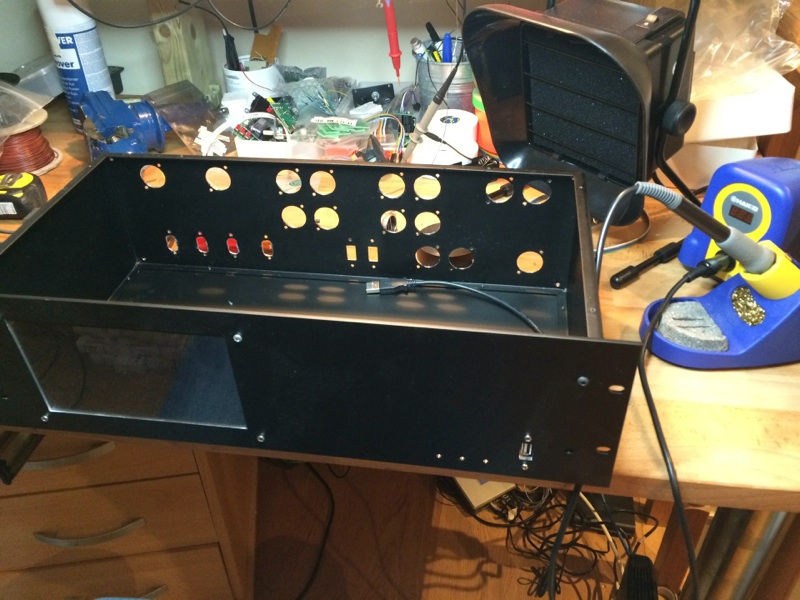
The main body of the tester is now milled. All the square holes are cut first and the 1mm recess for the window. Then it is time to change for the engraving tool and the engraving is done.

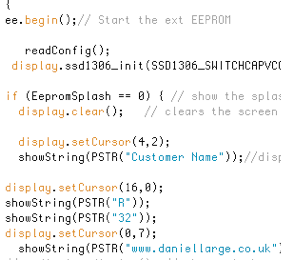
While the machine is working hard cutting holes the PCBs go over to have their processor fitted and flashed with software. At this stage I modify the line in the code that sets the customers name on the splash screen. Spelling of the name is not my strong point, so this needs to be checked at least twice!

The windows are snapped into the main body and the whole unit is assembled, adding the LiPo battery and encoder knob.

Testing

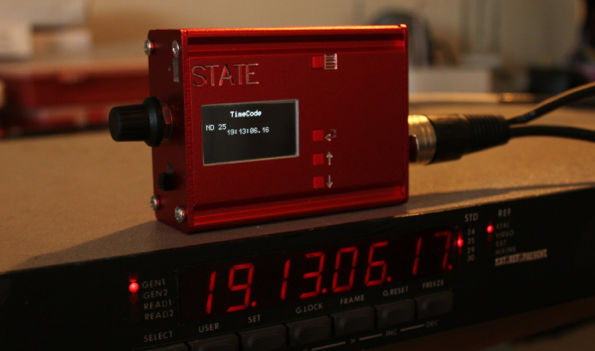
Once the unit is totally assembled I then walk it through some function tests, checking that all the buttons move ok and do what they are supposed to do.  I then check is the unit outputs DMX within spec, and receives DMX ok.  MIDI is checked against an MSC output from Qlab. The last step is to verify that LTC functions correctly by plugging the unit into a timecode generator. 

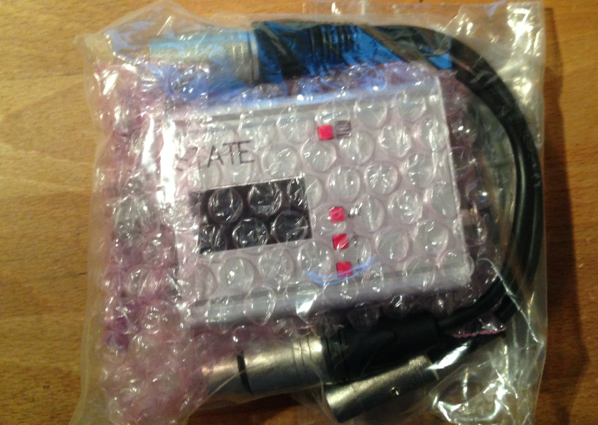
The last stage is to print the manual, and then check everything into the postbag, making sure not to forget the little purple bag or LTC/MIDI adaptor.

.


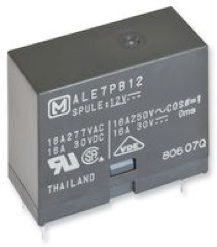
Switch6

Switch6 is a simple DMX relay card. Unlike the DMX relay cards that you can readily buy its relays are rated to 16A per channel, and the current is kept of the PCB through use of tab top relays. I’m going to build some of these cards into enclosures with socca out, to use as a proper relay backfeed for a AVO dimmer. You could use it for anything else that needs switching. It has a standard piano dipswitch for address setting.